
Anime Hair Maker for Blender
anime hair maker addon
Anime Hair Maker v1.5.4 for Blender – Professional Anime Hair Modeling & Styling Tool
Version: V1.5.4
File Size: 10 MB
Download Anime Hair Maker v1.5.4 for Blender on Windows, Mac, and Linux, a specialized add-on for creating stylized anime and manga hair with intuitive controls. Generate complex hair shapes, strands, bangs, ponytails, and accessories—perfect for character artists, anime creators, and stylized 3D modeling.
Key Features of Anime Hair Maker v1.5.4:
- Hair Shape Library: Pre-built templates for common anime hairstyles—short, long, spiky, curly, and twin-tails
- Strand Generator: Create individual hair strands with adjustable thickness, curve, and taper
- Bangs System: Generate realistic bangs with customizable parting, length, and layering
- Ponytail & Bun Tools: Specialized tools for creating ponytails, buns, and up-dos
- Hair Accessories: Add ribbons, clips, hair bands, and decorative elements
- Procedural Hair Color: Gradient and highlight controls for anime-style hair coloring
- Fully Editable: All generated hair remains editable after creation
- Animation Ready: Hair moves naturally with character animation
- v1.5.4 Updates: New hairstyle templates, enhanced strand controls, and Blender 4.0+ compatibility
Perfect For:
- Character artists creating anime-style characters
- Game developers modeling stylized characters
- 3D artists transitioning from 2D anime to 3D
- Motion designers creating stylized promotional characters
- Anyone needing professional anime hair modeling tools
System Requirements:
- Blender 3.6, 4.0, 4.1, 4.2, 4.3
- Windows 10/11 (64-bit), macOS, or Linux
- 4GB RAM minimum (8GB+ recommended)
- 50MB available disk space
Installation:
- Download the add-on zip file
- In Blender, go to Edit > Preferences > Add-ons
- Click “Install” and select the downloaded zip file
- Enable the add-on by checking the box next to “Anime Hair Maker”
Note: Anime Hair Maker v1.5.4 provides specialized tools for creating stylized anime and manga hair in Blender, dramatically speeding up character creation. The shape library, strand generator, and accessory tools make it essential for character artists, game developers, and anyone creating anime-style 3D characters. Designed for Blender 3.6 and above.
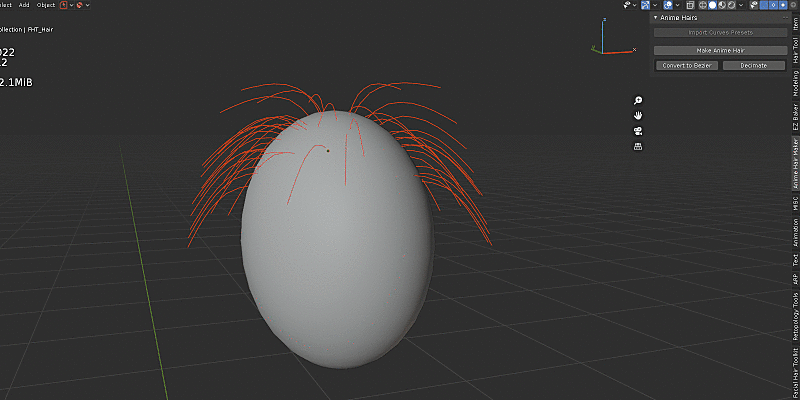
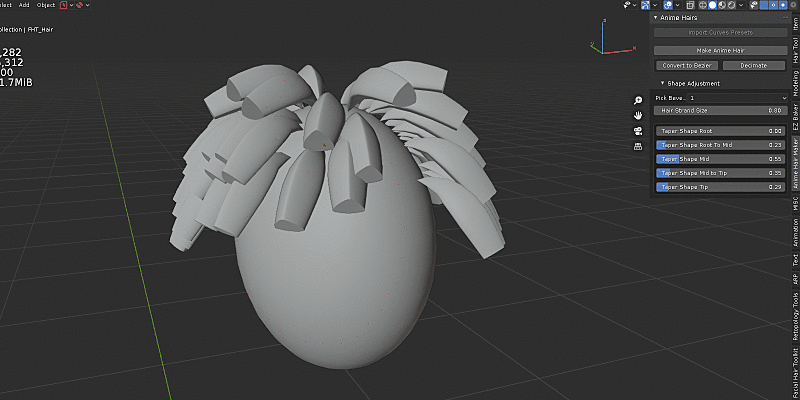
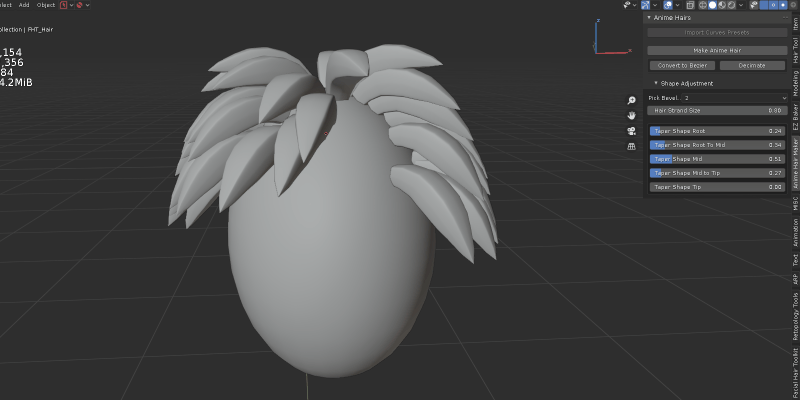
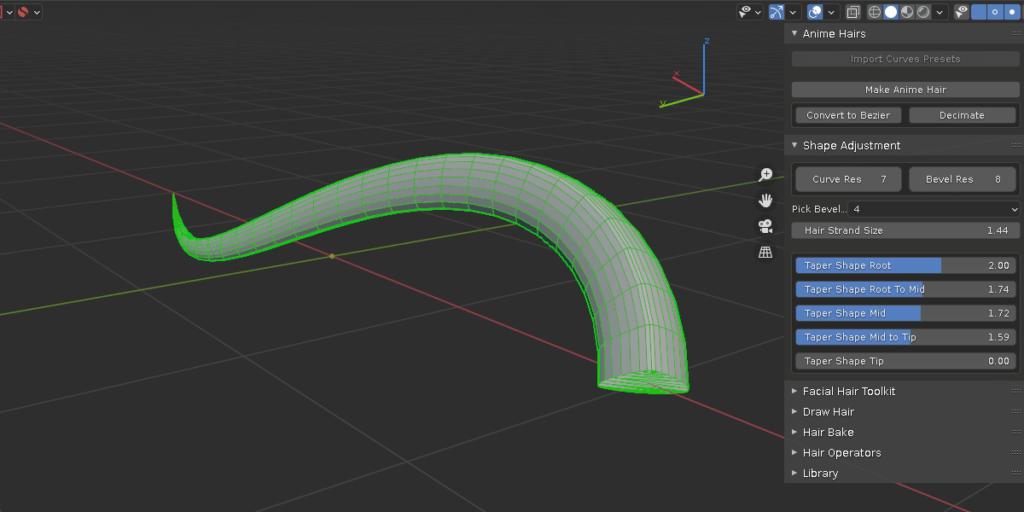
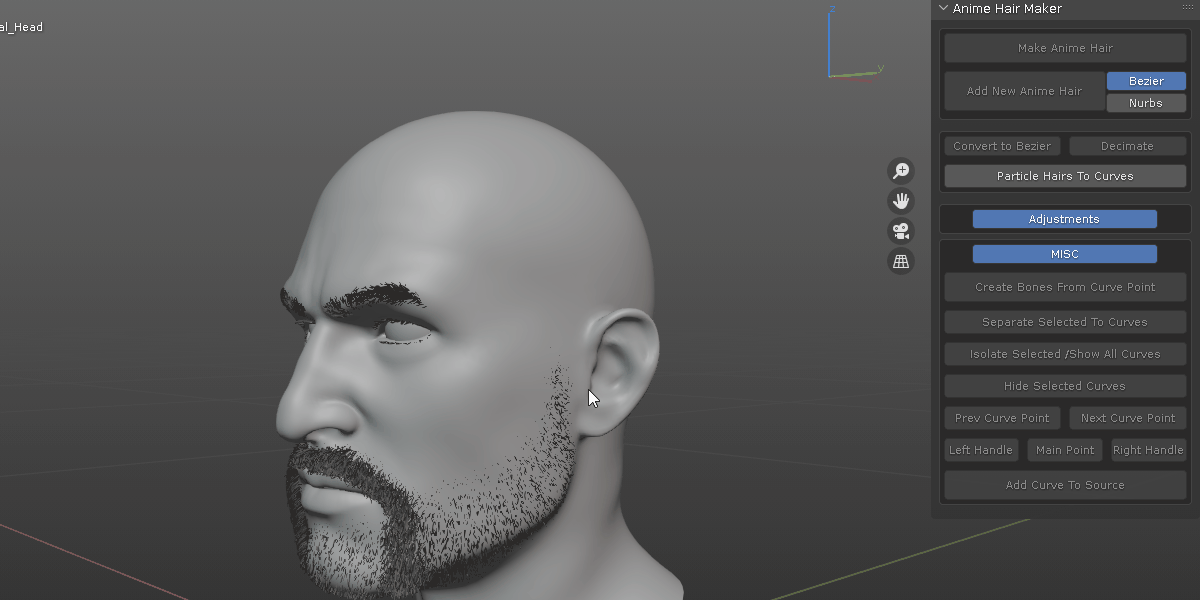
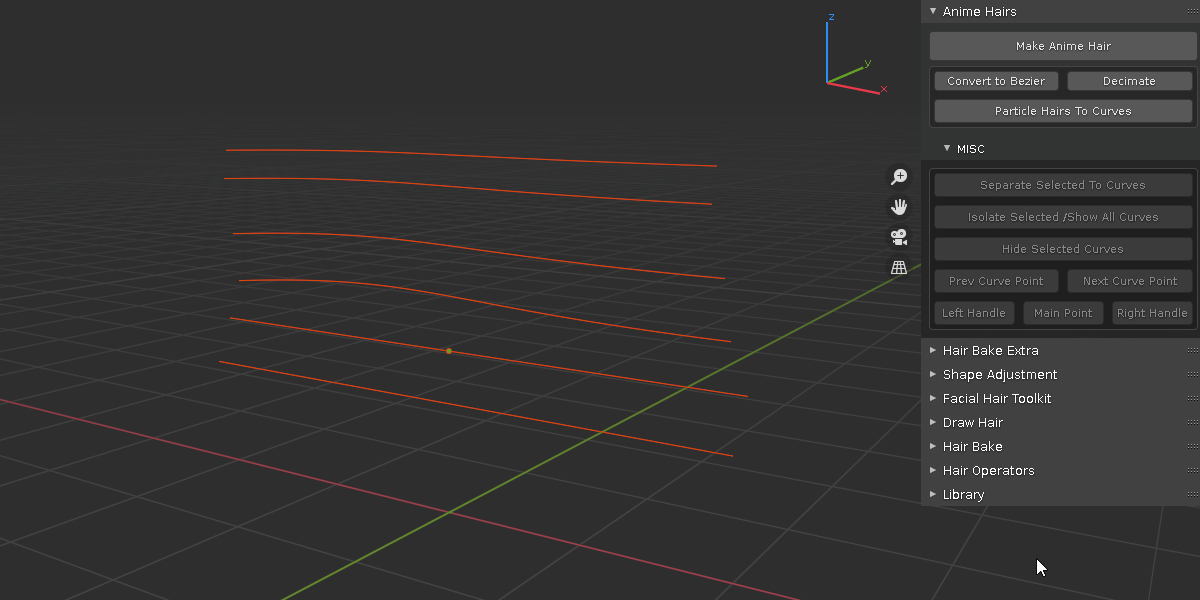
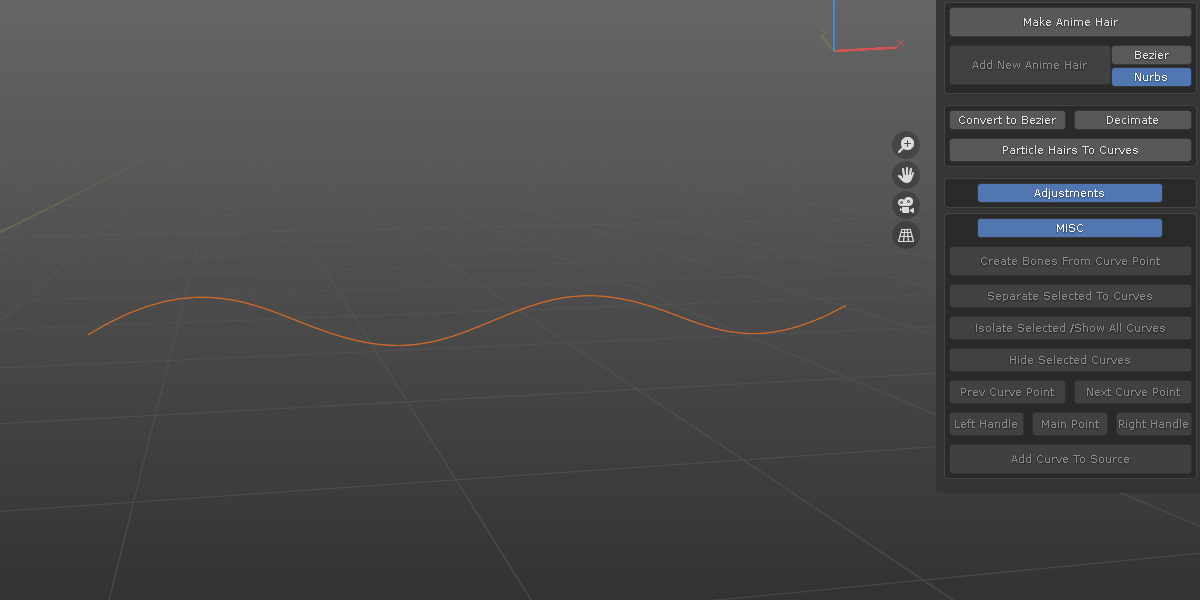
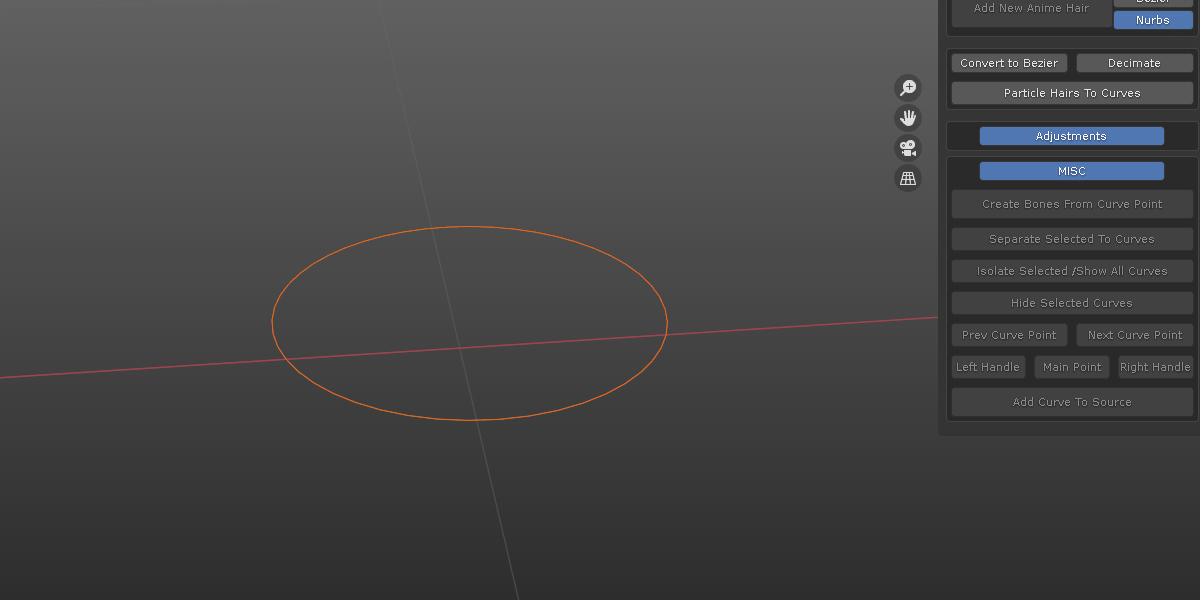
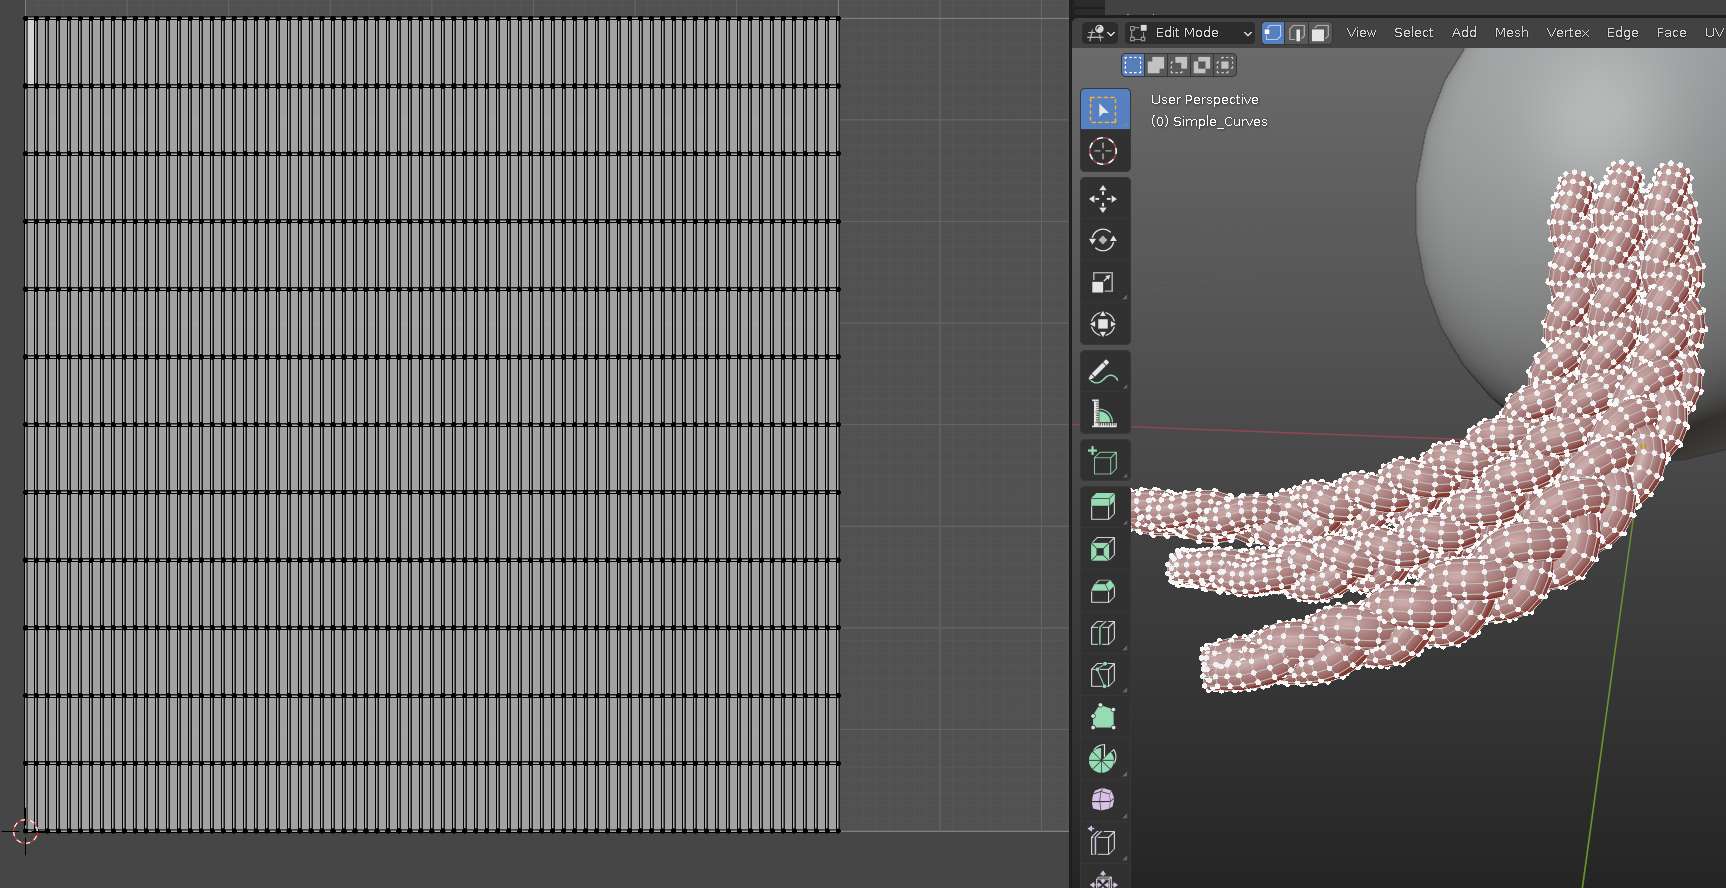
The common process of making anime alike hair is to make a hair strand and duplicate all over the head. This addon offers additional ways to populate hair strands, for example, it utilizes blender new hair system to sculpt, plant hairs with modal operator, directly draw bezier hairs as well as convert from legacy particle hairs. In the mean time, bevel and taper profiles are taken care of with a click of button. Curve manipulating also made easy with included curve tools.
it provides 9 commonly used bevel shapes, curl hair and braids hair generation. plus you can add your own hair curve shape into the mix for future usage.
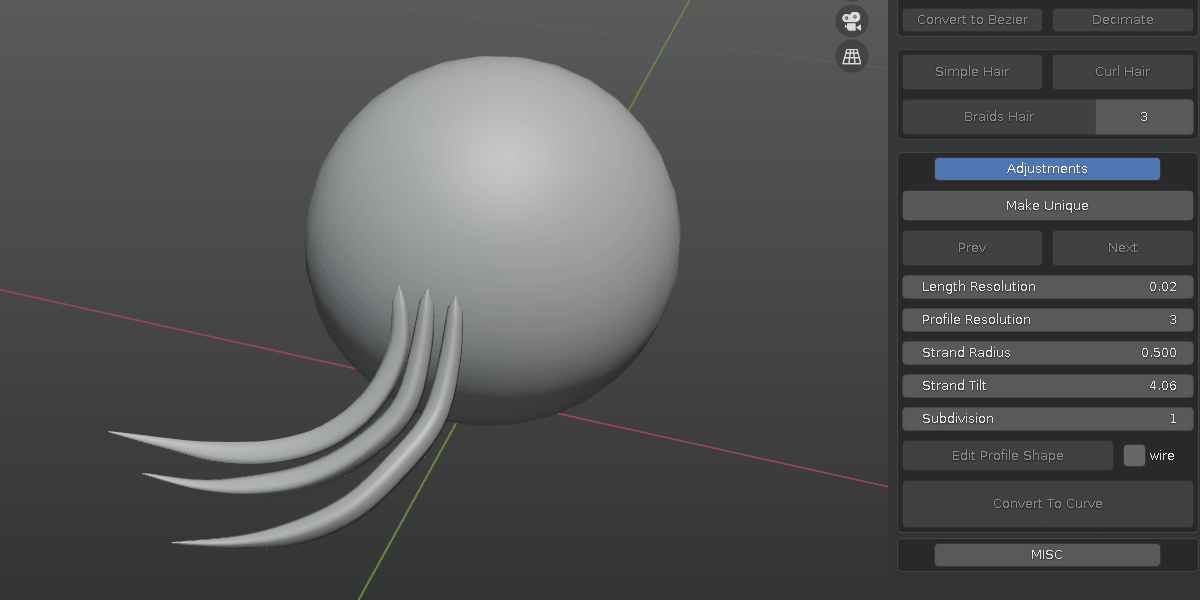
sculpt with the new hair system
turn new hair system into curves and fine tune it
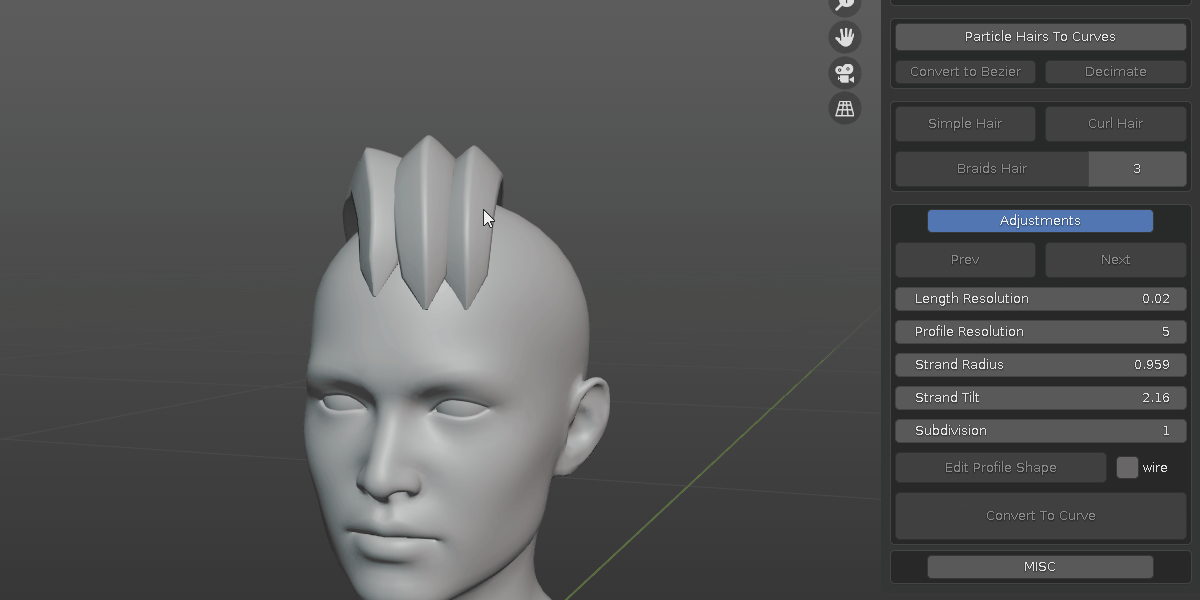
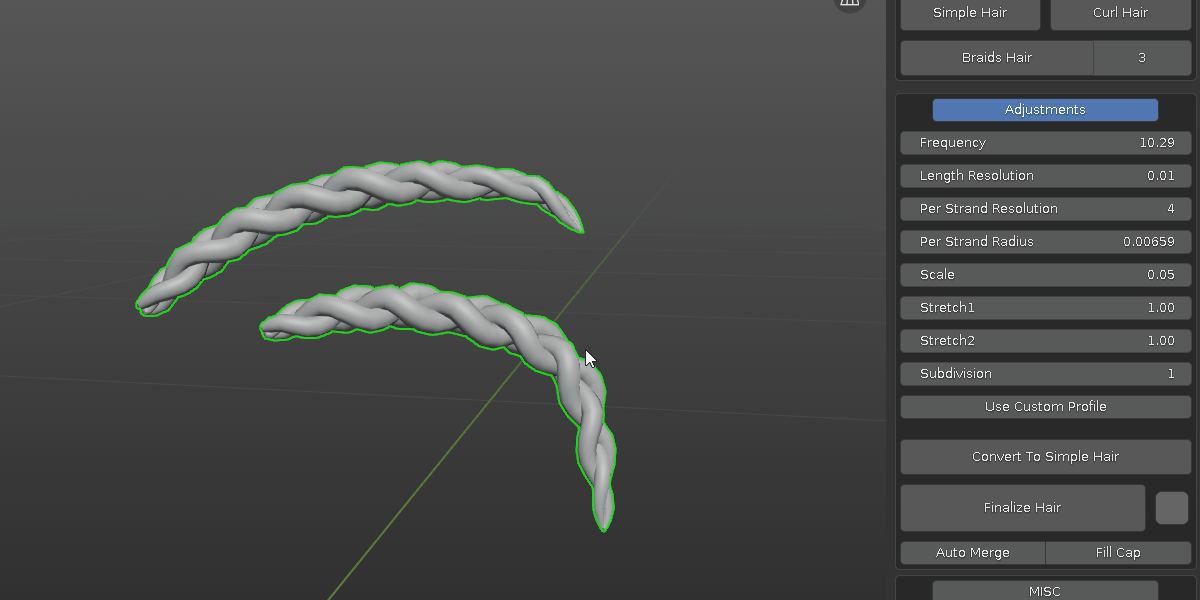
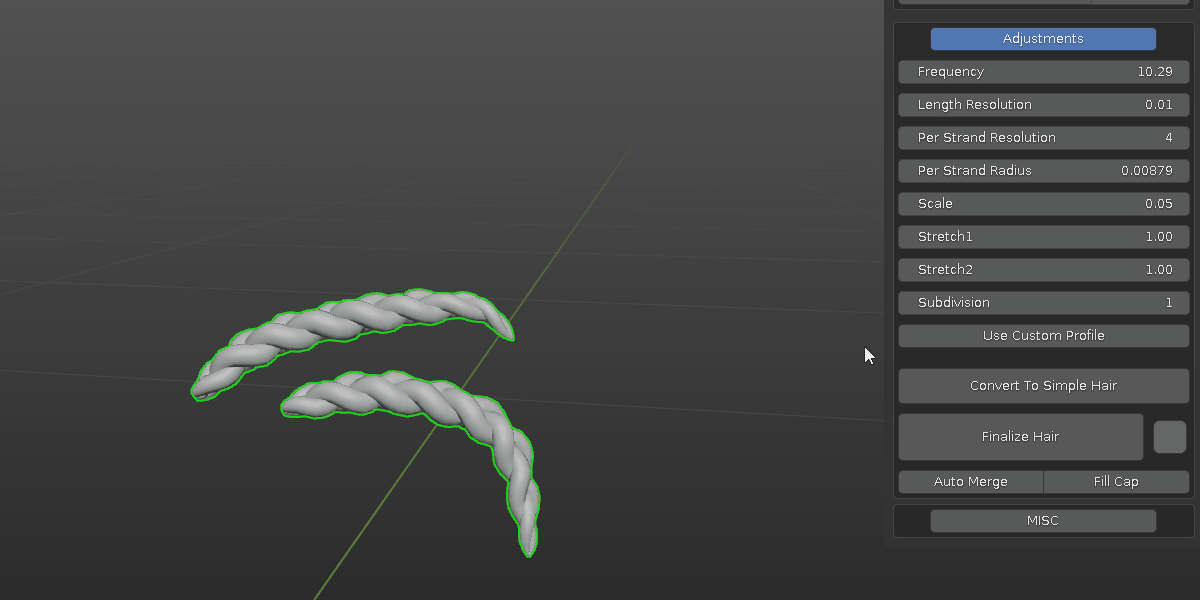
one click to curly hair or braids hair ( choose from 2,3,4,5,6 strands variation)
- Convert to Simple Hair. convert curl or braids hair into individual strand for further editing.

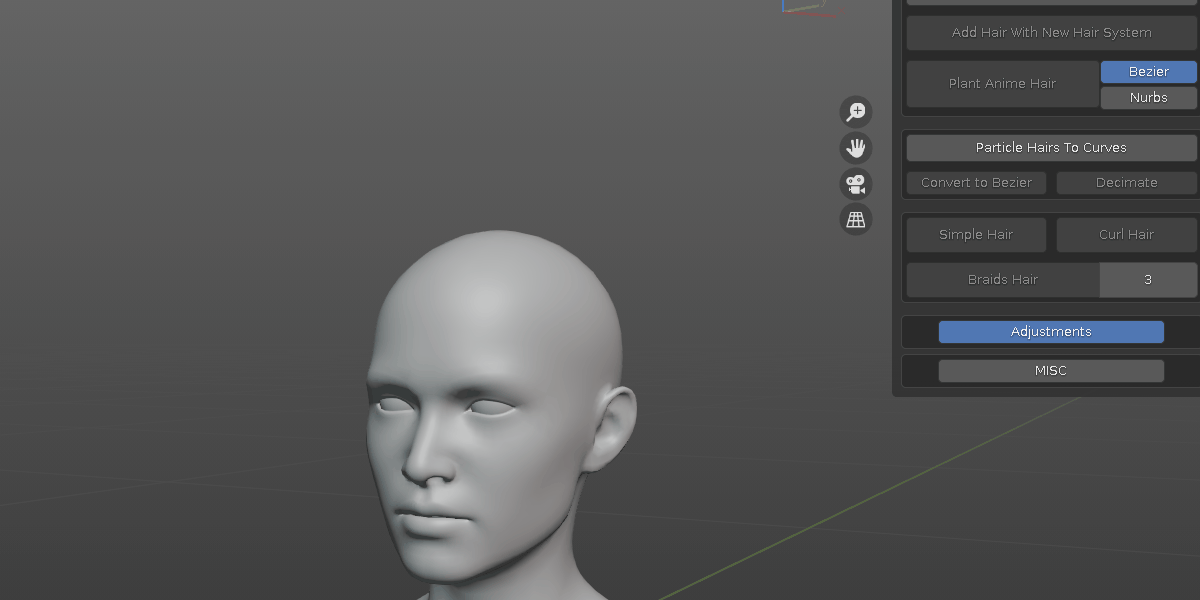
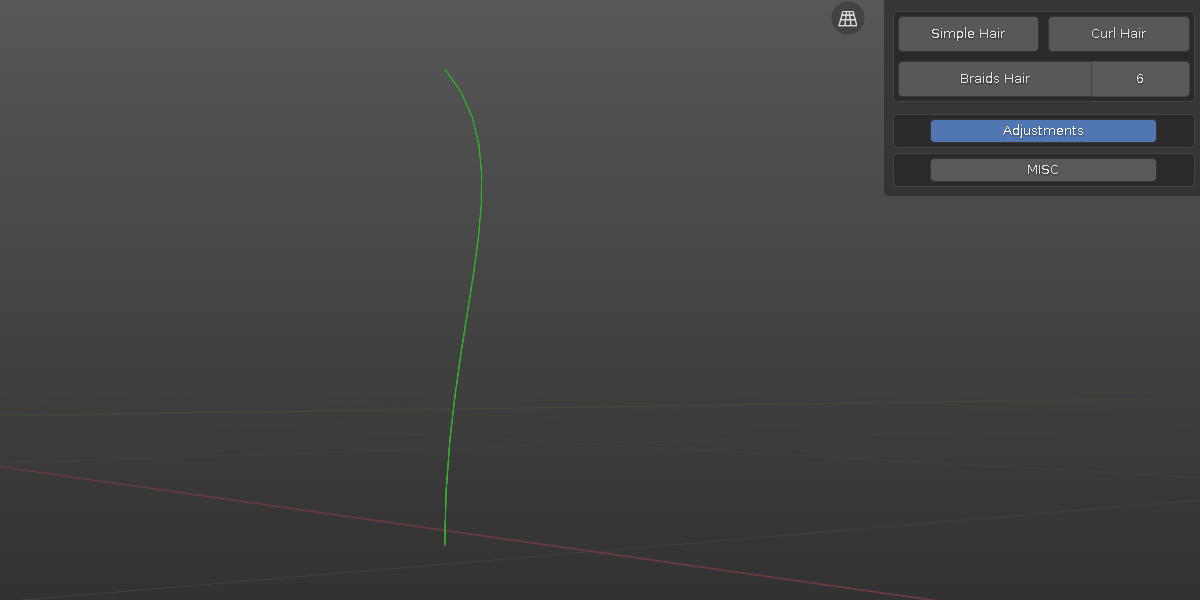
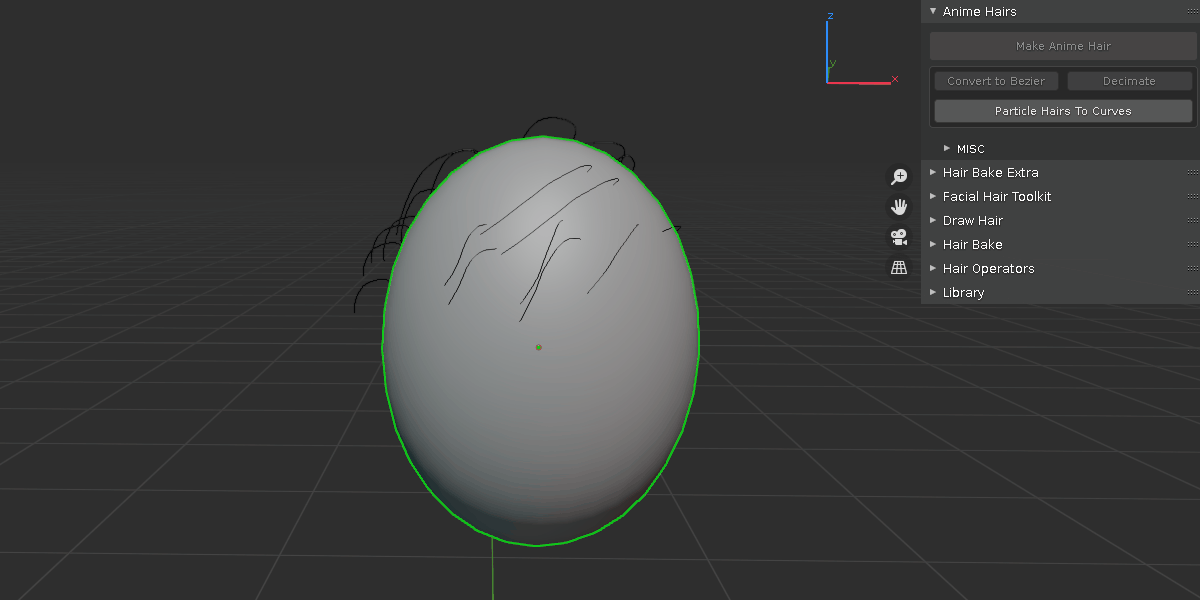
- easily plant hair curves for editing
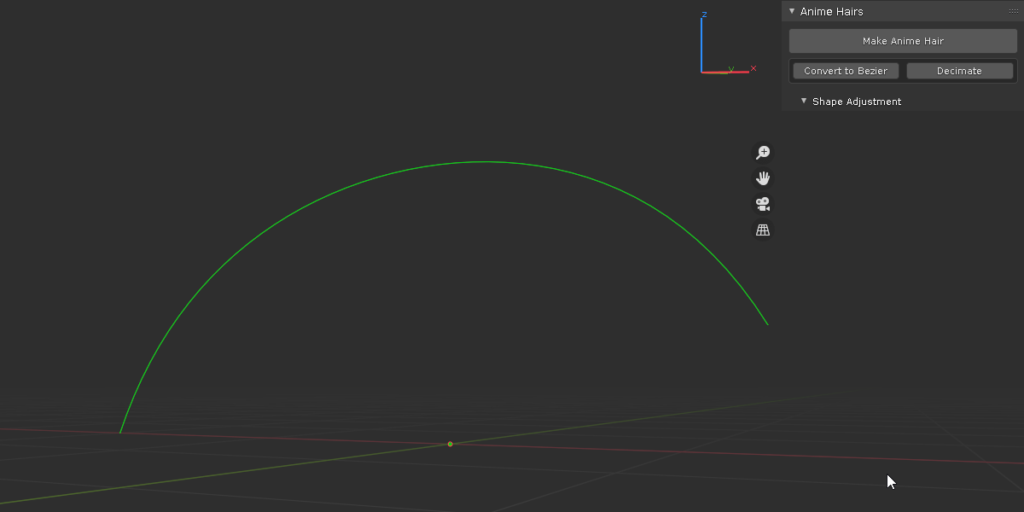
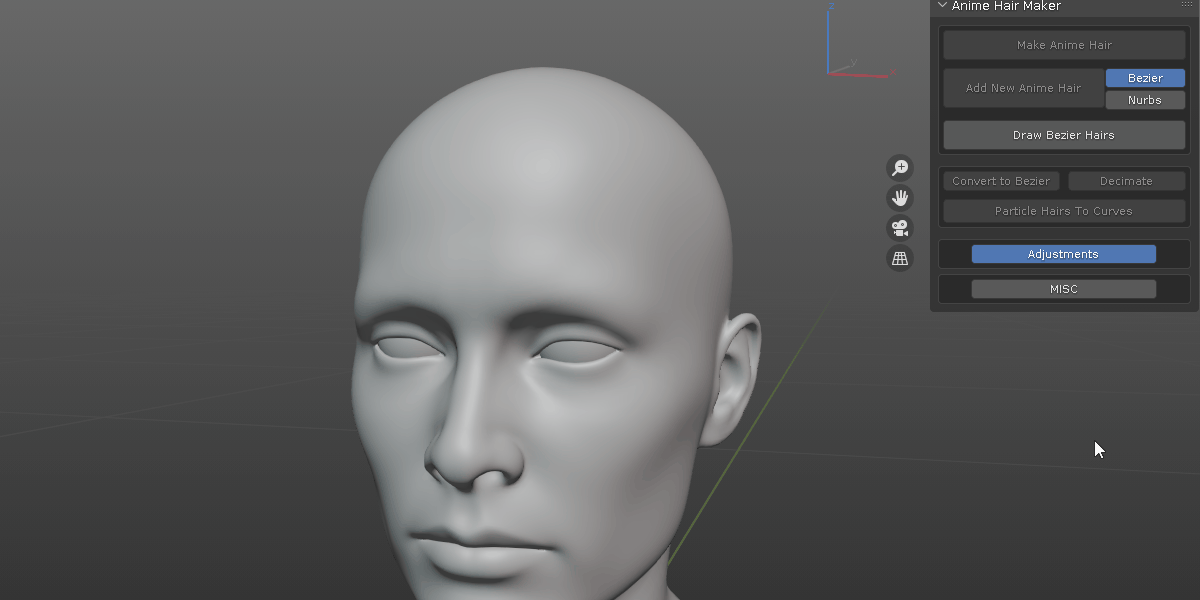
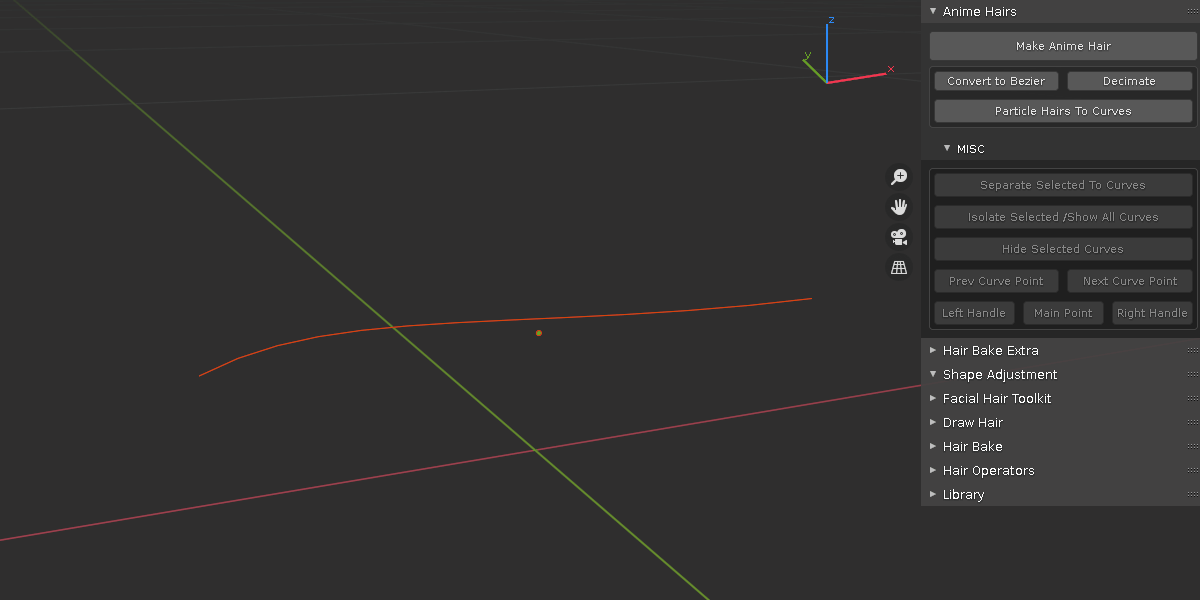
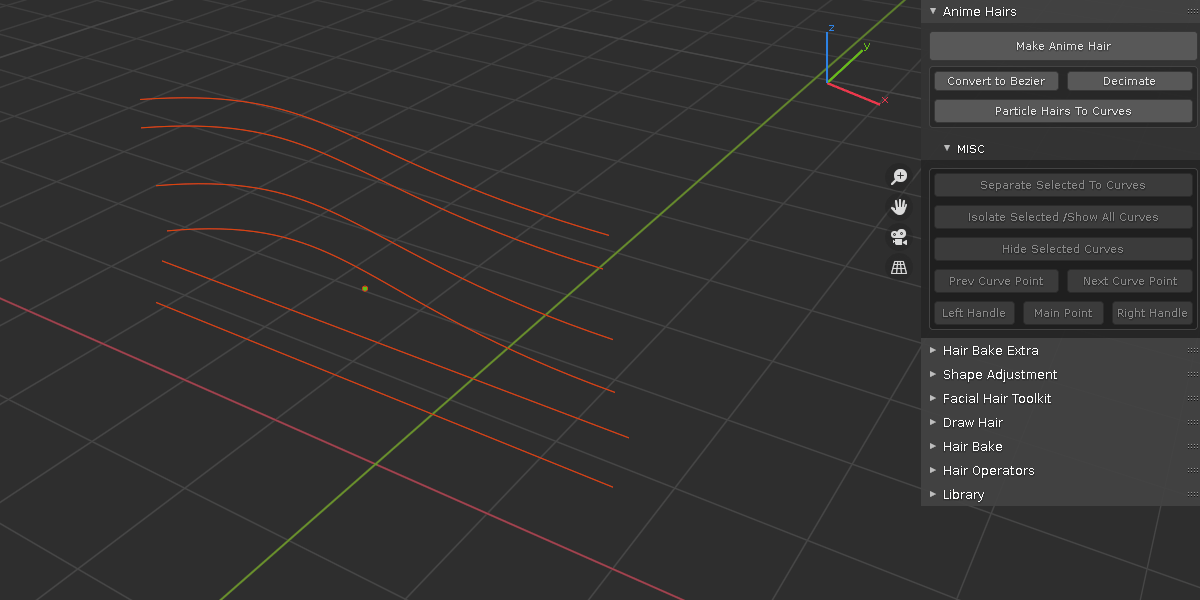
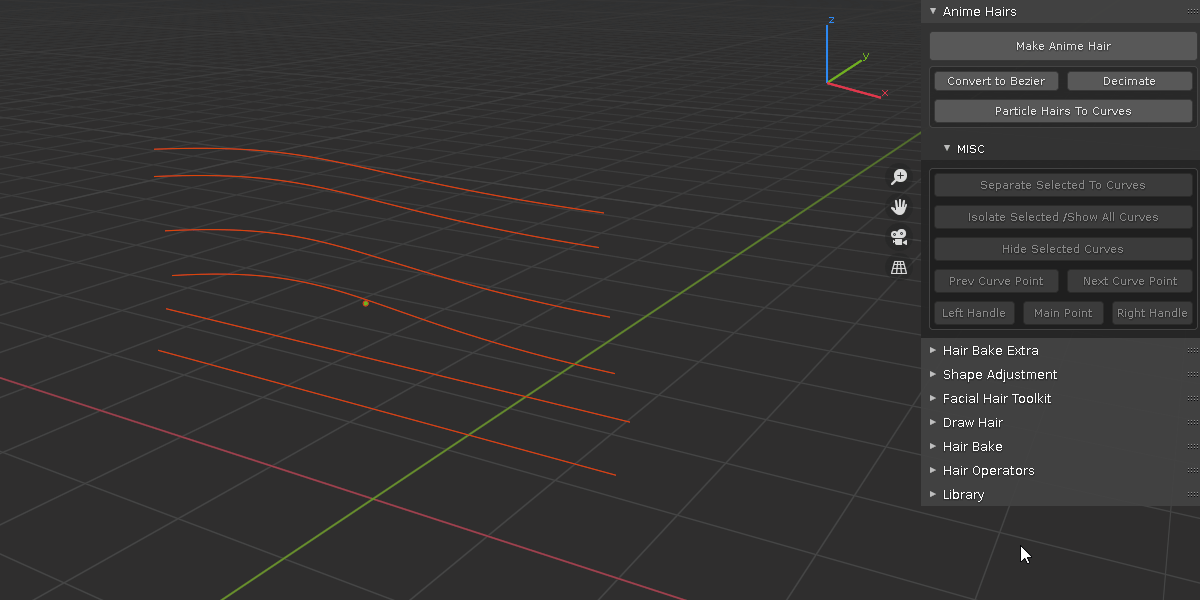
- draw bezier hairs. tap back to object mode when done. take a look at this video for more info on how it works and extra tricks.
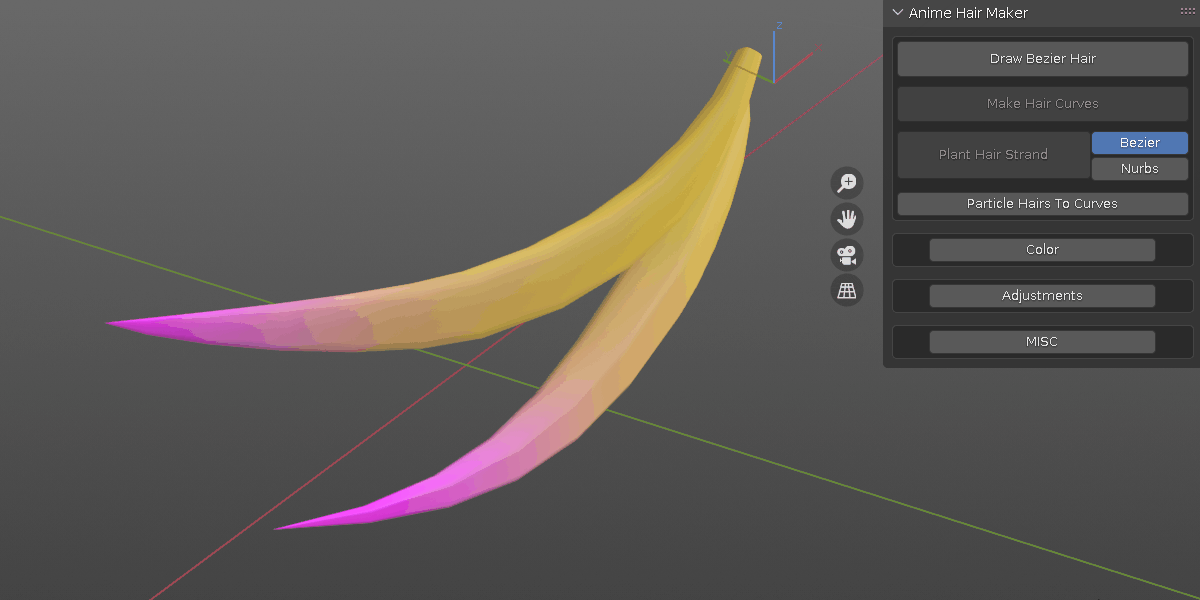
- adjust hair color
- non destructive workflow, when doing hair conversion, backup is automatically created, hidden and placed in collections based on the type. enable more toggle options to show the original ones
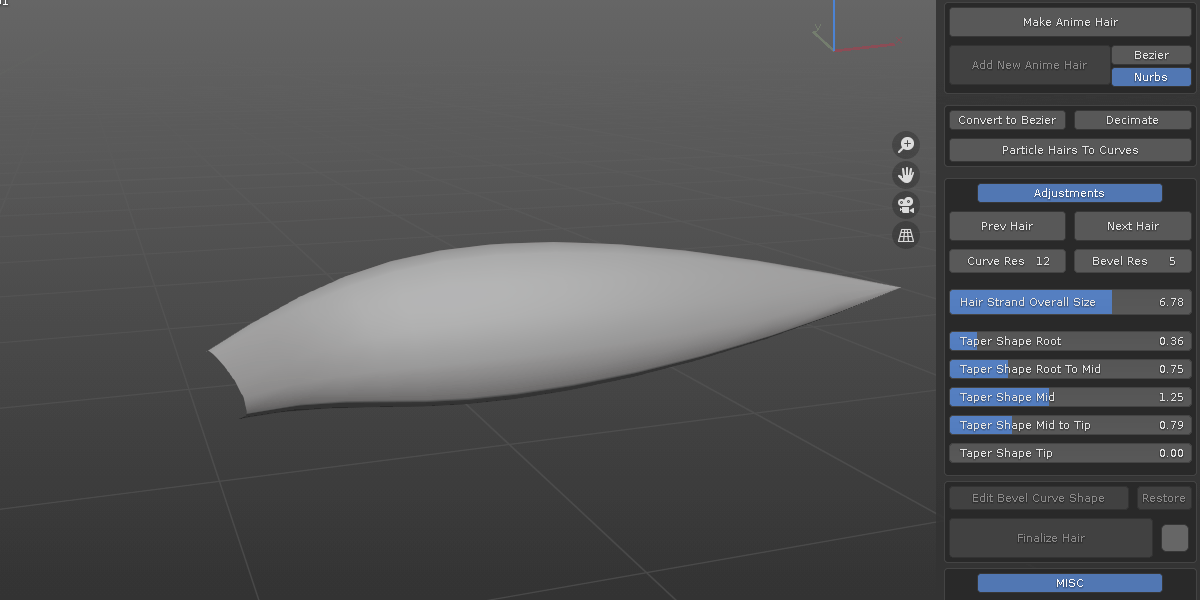
- apply commonly used bevel profiles
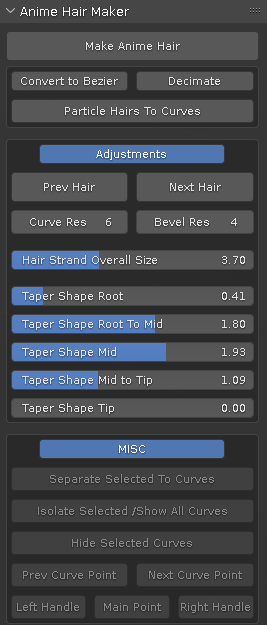
- multi slider panel to quickly adjust the size of each hair strand segment from root to tip
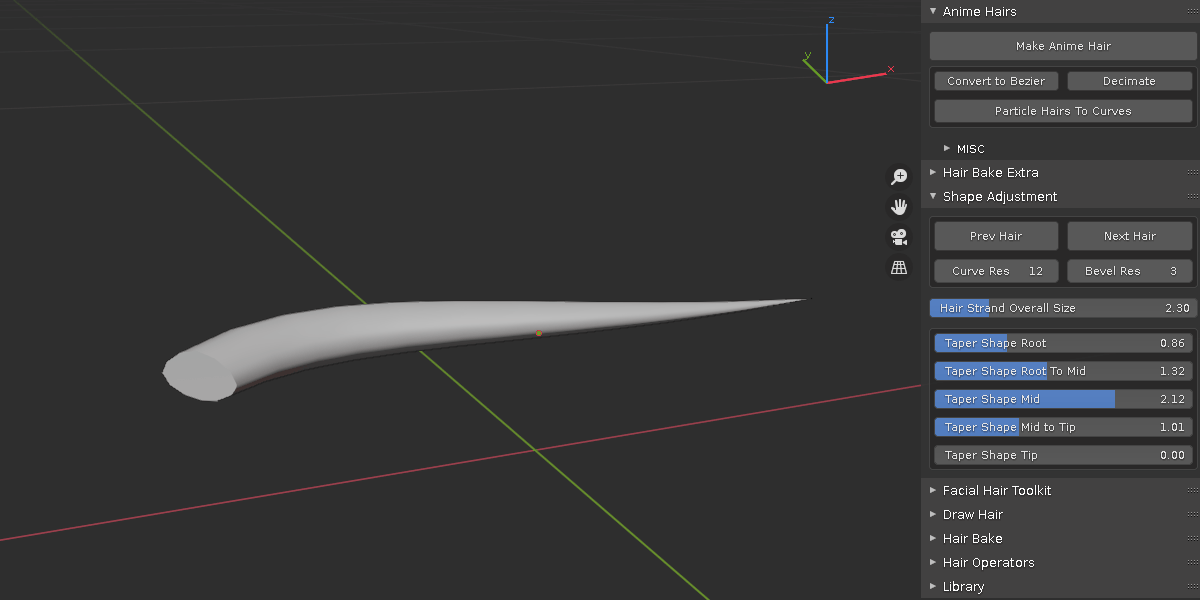
- adjust resolution

- isolate selection / show all
- hide selected
- separate selection to new curve

- previous and next curve point
- bezier handle switching
- convert particle hair to curve
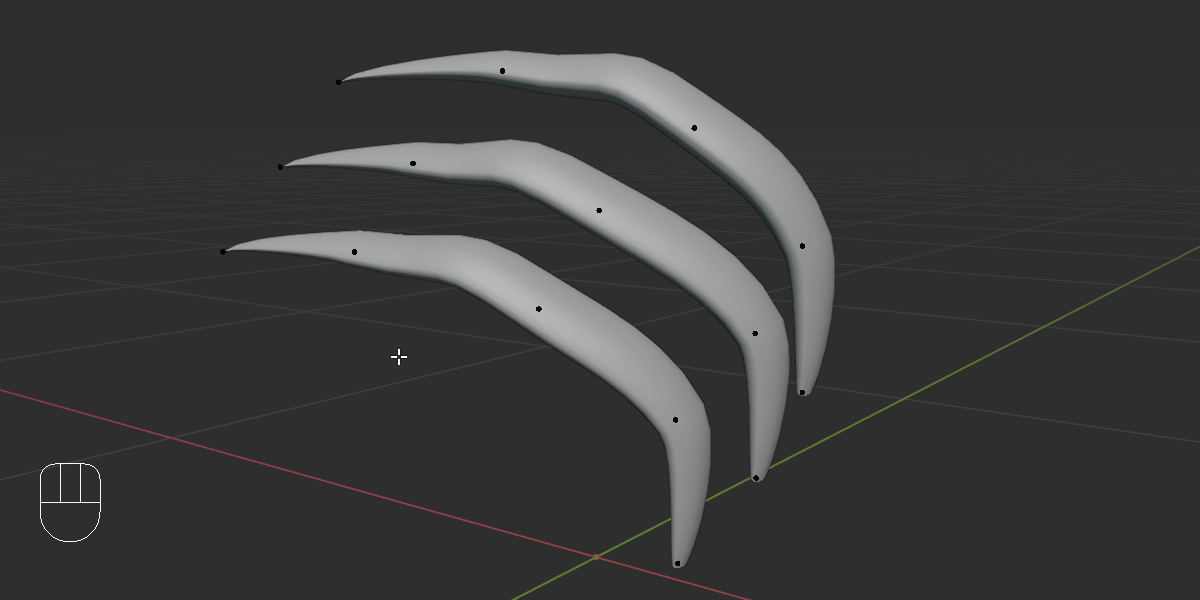
- edit bevel shape and convert hair curve to mesh object, with toggle options to merge pointy end, fill cap and create pin vertex group at root position for simulation.
- create bones from curve points
- one button click to append curve to source bevel profiles
- move curve point: minimize mouse finger fatigue. (see update section for detail comparison)

******************** updates ***********************
1.6.1: fix issue where after custom profile is saved to source file, it is not integrated in current scene.
change “Make Unique” operator to “Make Unique / Update”: it refreshes all profile shapes including any user recently added one.
1.6 update:
reformat to meet blender 4.2 extension platform standard
1.5.4 update:
add compatibility for Blender 4.1
1.5.3 update:
fix compatibility with Blender 4.0
1.5.2 update:
what’s new:
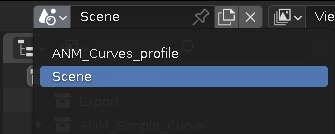
1. instead of appending to current scene, custom curve profile collection is moved to separate scene to clean up outliner.
2. added color material to all created hairs, use the color sub panel to adjust them or go to shader editor to add more.

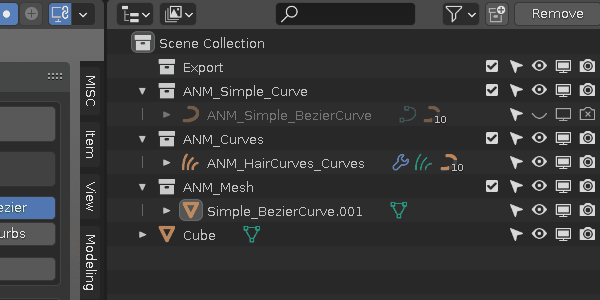
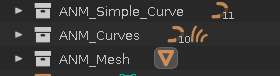
3. instead of placing everything in same collection, there are now dedicated collections based on the hair type: any hair created from the new hair system is placed in “ANM_Curves” collection, drawn hair is placed in “ANM_Simple_Curve” collection, converted mesh is placed in “ANM_Mesh” collection.
4. workflow improvement: non destructive. when doing hair conversion, a backup is created and hidden, so that you can always go back to adjust if needed. enable more toggle option to show original hairs.

1.5.1 update:
what’s new:
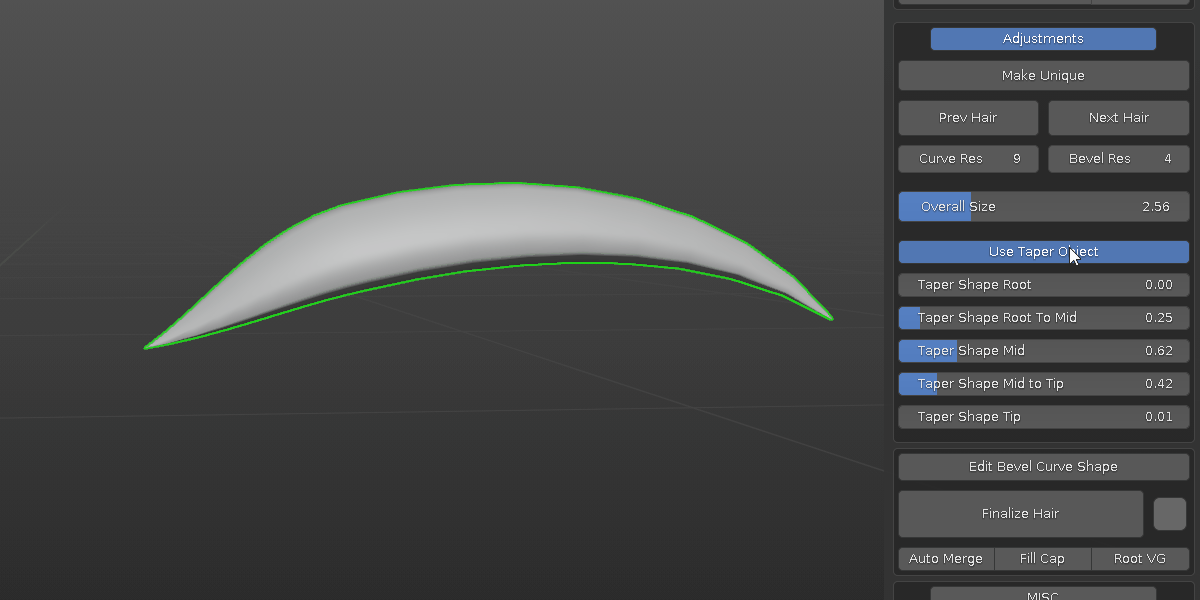
1. Use Taper Object. when this toggle is on, it uses a taper curve to control the overall profile, when it is off, you can manually adjust each curve point radius or use the Overall Size slider to control the radius uniformly.
2. Convert to Simple Hair. convert curl or braids hair into individual strand for further editing.
3. Make Unique. after hair is duplicated, some of the controls can effect both objects. this operator resolves it.
4. new hair system to basic curve hair workflow: first convert new hair system curves to regular curve, second make it simple hair, at this point it is poly curve, optionally you can convert it to bezier curve to be able to adjust length resolution.
if you need to have the final hair mesh with proper UV, now you can have mesh with square UV for further texturing etc.
1.5 update:
added: support new hair system to sculpt hairs.
added: curly hair and braids hair generation. for braids hairs, choose from 2-6 strands variation.
Important: if you have added your own custom curves before, please back it up before update. please take a look at FAQ section for more details.
1.4.3 update:
Fixed: issue when add curve to source file in blender 3x.
Added: user defined curve bevel file path
to avoid accidental file overwritten in default addon folder, under preference addon tab, I’ve added a new user defined path for the curve bevel profiles. if left empty, the default curve bevels inside addon folder will be used. otherwise, you can specify a folder outside addon folder to save the curve bevel file and use that instead.
select the folder where you save the blend file like in screenshot will do.
Added: Refresh Bevel Profiles From File Path
during work, if you have multiple curve bevels files in different folders, after set new folder location, use “Refresh Bevel Profiles From File Path” to update the curve bevels collection inside scene.

WARNING: please note that file saved in blender 3.x CAN NOT be open in blender 2.xx
1.4.2 update:
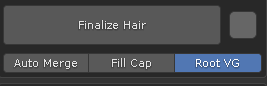
upon user request, a new Root_VG toggle is added. when turned on, a vertex group at root position is automatically created when Finalize hair. it could be useful to pin hair root while doing simulation.
added: new operator call “Move Curve Point”. It is more of a personal habit. the default shortcut is “D”. It can be changed in addon preference.
what it does: when shortcut key is pressed in curve edit mode, if nothing is selected, the curve point closest to mouse cursor will be selected and moved with mouse movement, if curve points are already selected, they will start to move with mouse movement, then left mouse click to confirm or right mouse click to cancel.
the purpose of this operator is to minimize index finger fatigue. for example, with the same goal of moving curve point from A to B, lets compare the following scenarios:
1. default blender control scheme:
- move mouse over to a curve point and click.
- press “G” and move mouse to new location.
- left click to confirm.
2. industrial standard control scheme:
- move mouse over to a curve point and click.
- press “W” and click & hold gizmo and move mouse to new location.
3. move curve point:
- move mouse near a curve point
- press “D” and move mouse to new location.
- left click to confirm.
It saves 50% of the left mouse button click, thus minimize the index finger fatigue in the long run. With proportional editing, it can adjust overall hair shapes quickly.
1.4.1 update:
added: new operator “Draw Bezier Hairs”, it is viewing angle dependent, rotate the 3d view if the drawing is not as expected.

here is a short video explain how it works and tips and tricks:
added: Auto Merge Toggle: if it is on, when finalizing a hair curve, pointy tip or root vertices will be merged.
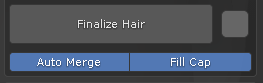
added: Fill Cap toggle: offer the option to fill cap when hair does not have pointy tip or root.
optimized: after you adjust the hair resolution, hair overall size, taper root – tip values, all hairs created afterward will respect these settings, instead of adjusting them every time they are created.
WARNING: if you have added your own bevel profiles, back it up before update, and overwrite the blend file in the addon folder with your own afterward.
This update has one zip file, it works with all blender releases.
1.4 update:
added: modal operator to quickly plant hair strand on mesh surface for editing.
added: finalize hair. convert curve hair to mesh object and clean up un-used curves.
added: create chain of bones from curve points, useful for bone dynamics.
added: one button click to append selected curve to source bevel profiles for future usage.
1.3.1 update:
this minor update is mainly for organization purpose.
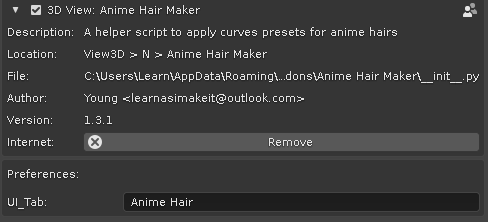
added user defined tab rename. when choose same tab name as others, they will merge together. save preference and restart blender to take effect.
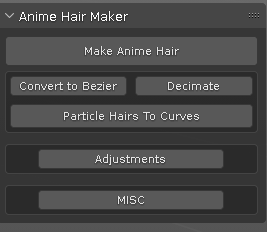
merge all panels into one. using toggles to show/hide controls
 =>
=> 
1.3 update:
added: convert visible particle hairs to curve.
a collection of handy operators to manipulate curves with ease.
1.2 update video
1.2 update: simplify the process to one button click to apply hair shape.
remove the drop down list of selecting hair shape, instead, there are previous and next button to cycle through the hair shapes.
added the ability to append your own hair shapes into the mix.
1.1 update: added two sliders to adjust curve resolution.
1.0: initial release.
Supercharge your 3D creation workflow with premium selection of Blender Add-ons. Whether you are modeling intricate characters, sculpting realistic environments, or animating cinematic sequences, the right add-on can transform how you work inside Blender. Our curated collection includes powerful tools for UV unwrapping, procedural texture generation, rigging automation, rendering optimization, and more—each rigorously tested for compatibility with the latest Blender versions. Eliminate tedious manual processes and unlock advanced functionality that lets you focus on what matters most: bringing your creative vision to life. Explore our full range of professional Blender plugins today and take your 3D projects to the next level.
➡️ ➡️ For more Blender Plugins 😀 😀
Reviews
There are no reviews yet.