
Combined Render for Blender
combined render addon
Combined Render v1.0 for Blender – Multi-Pass Render & Composite Automation Tool
Versions: v1.0
File Size: 133 KB
Download Combined Render v1.0 for Blender on Windows, Mac, and Linux, a powerful render automation add-on that renders multiple passes and automatically composites them into final images. Set up render passes, apply color corrections, and generate layered EXR files—perfect for VFX artists, compositors, and motion designers.
Key Features of Combined Render v1.0:
- Multi-Pass Rendering: Render diffuse, gloss, specular, emission, normal, depth, and shadow passes
- Automatic Compositing: Combine render passes into final composite with one click
- Pass Management: Enable or disable individual render passes as needed
- Color Correction: Apply basic color grading to render passes before compositing
- EXR Export: Save multi-layer EXR files for external compositing
- Batch Processing: Render and composite multiple cameras or scenes
- Preset System: Save and load render pass configurations for different projects
- Real-Time Preview: Preview composite results before final render
Perfect For:
- VFX artists needing multi-pass renders for compositing
- Motion designers creating complex lighting setups
- 3D artists requiring layered EXR files for post-production
- Game developers rendering asset turnarounds
- Anyone needing automated multi-pass rendering in Blender
System Requirements:
- Blender 3.6, 4.0, 4.1, 4.2, 4.3
- Windows 10/11 (64-bit), macOS, or Linux
- 8GB RAM minimum (16GB+ recommended for complex scenes)
- 20MB available disk space
Installation:
- Download the add-on zip file
- In Blender, go to Edit > Preferences > Add-ons
- Click “Install” and select the downloaded zip file
- Enable the add-on by checking the box next to “Combined Render”
Note: Combined Render v1.0 automates multi-pass rendering and compositing in Blender, saving time on complex render setups. The pass management and EXR export make it essential for VFX artists, compositors, and motion designers who need layered renders for post-production. Designed for Blender 3.6 and above.


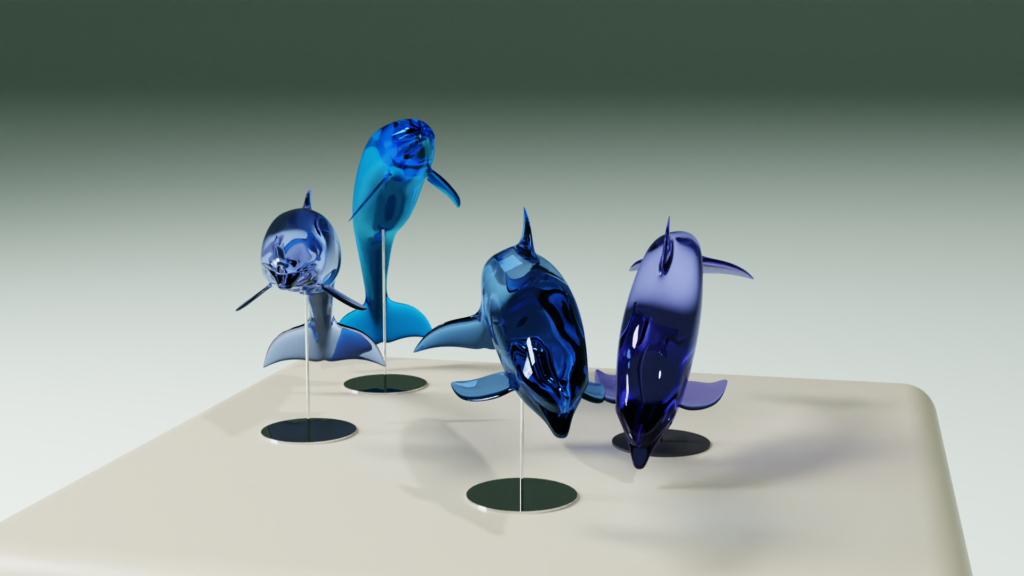


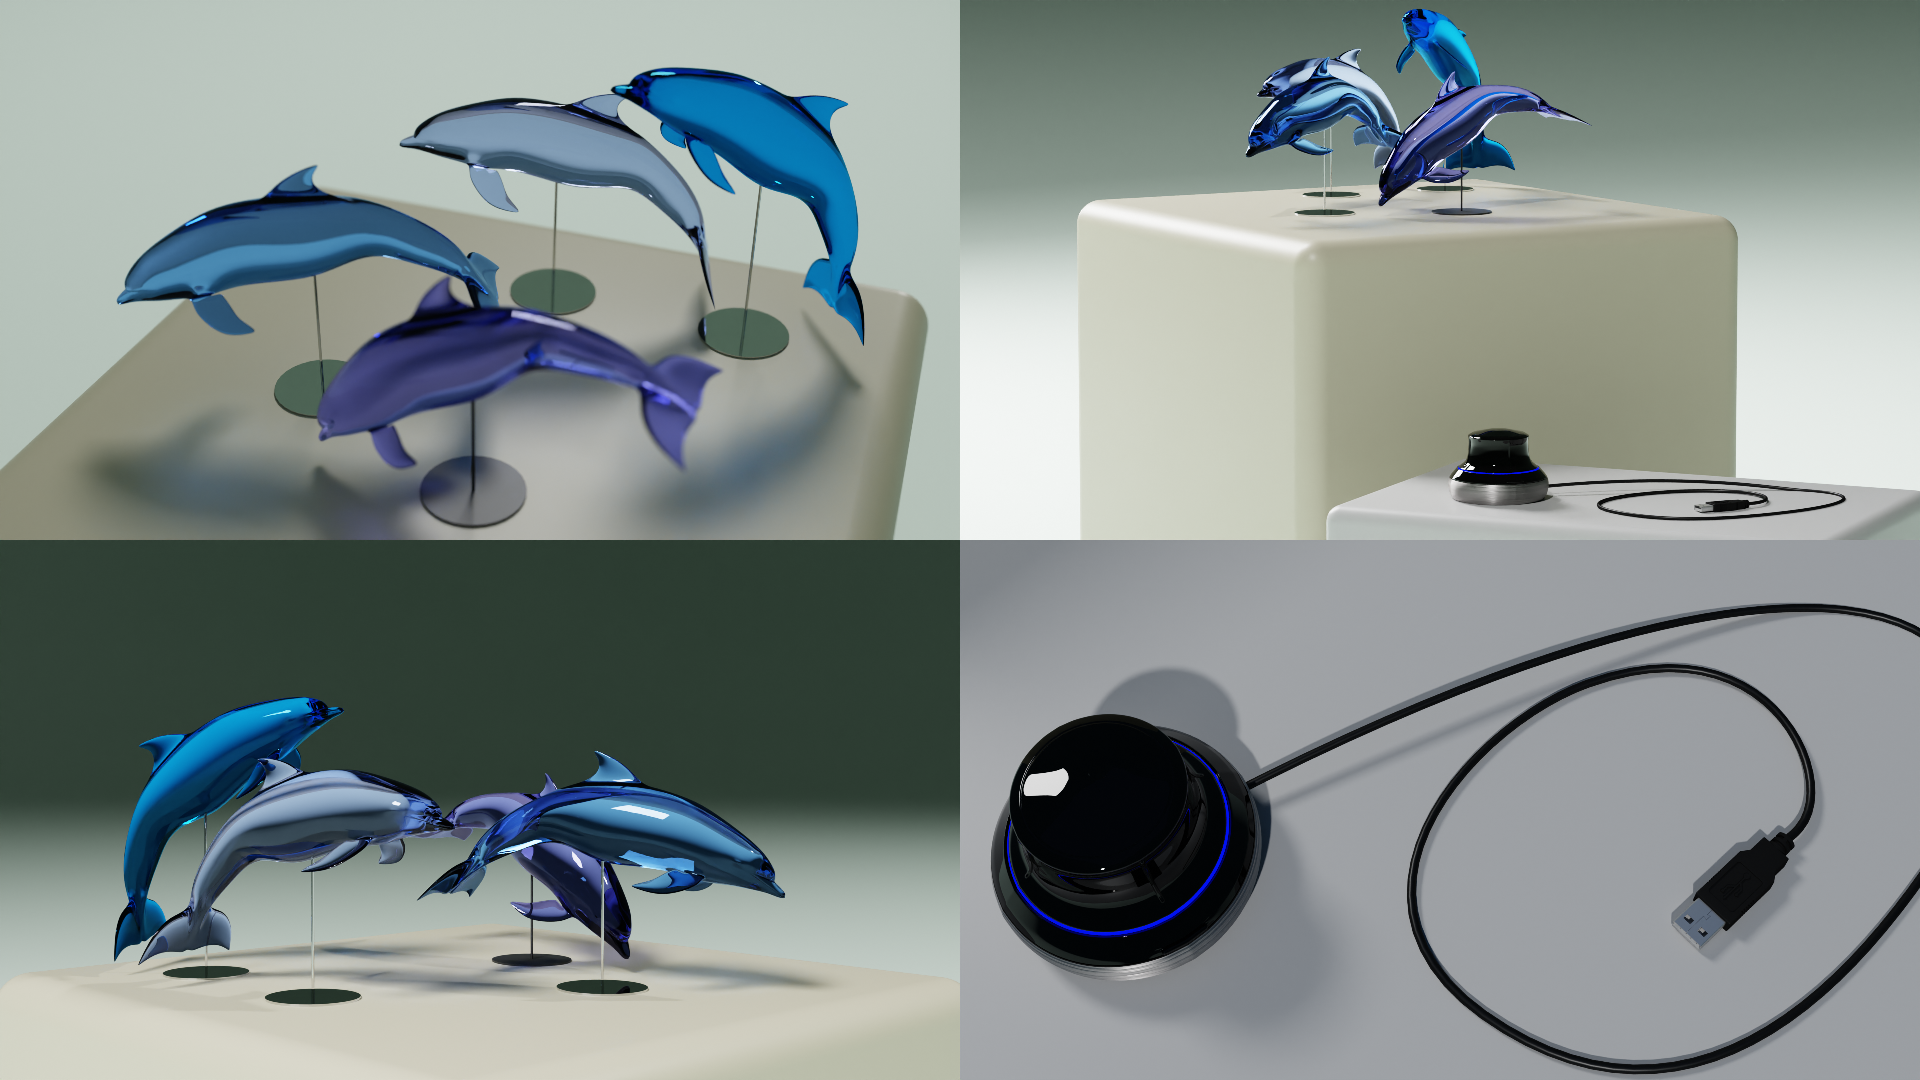
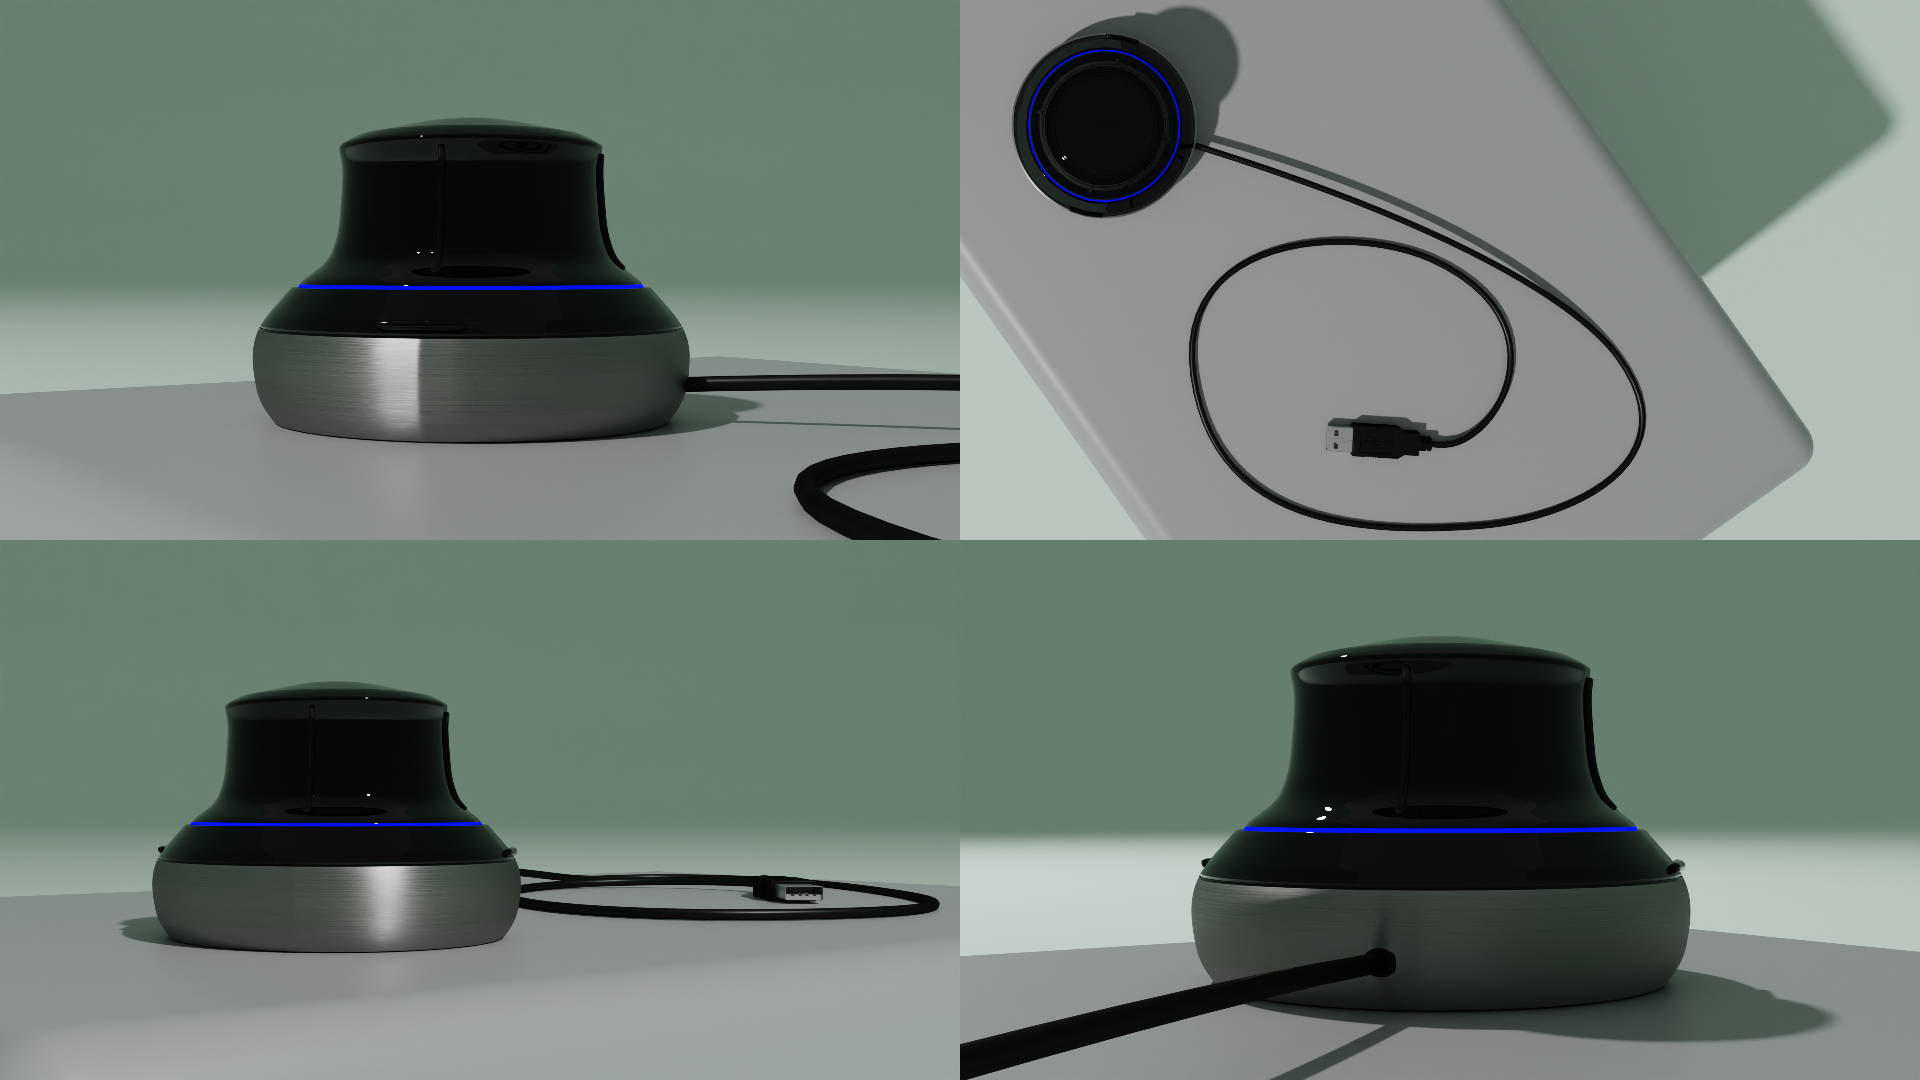
4 Scenes Camera:
Pressing the ‘Add Cameras’ button will add a camera to each scene that was checked in the panel.
You will see that for each checked scene, there is a camera added at the distance you have set previously.
By pressing the ‘To Scene’ button, next to the scene name in the panel, there can be switched between scenes to make adjustments in that scene.
Each checked scene, will have a collection where the camera and linked empty is located.
For each scene, you adjust your camera as desired.
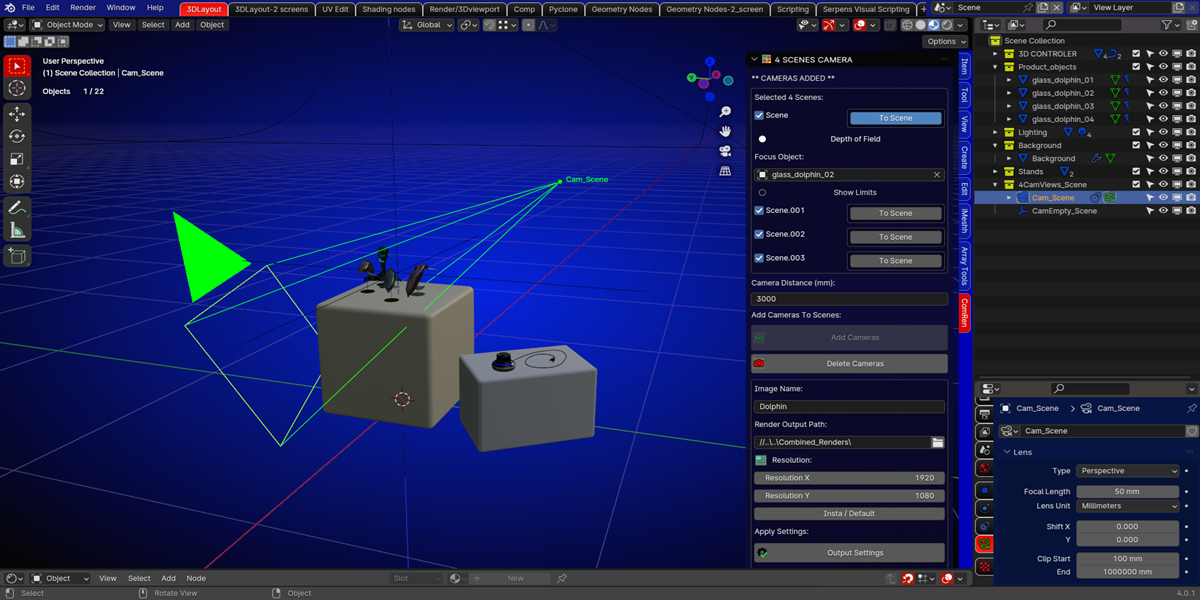
The camera will always follow the position of the linked empty.
When everything is set and you like to have your renders, you add a name for your image, select your render output path and select your resolution.
The default is the 1920 by 1080, but can be changed to your need.
Pressing the insta-default button, will switch to Instagram resolution, or back to the default.
Pressing render will render 5 images.
One image for each camera of the selected scenes and 1 combined image of all 4 cameras.
By default, the selected folder will open, once the rendering is done.
Object Cameras:
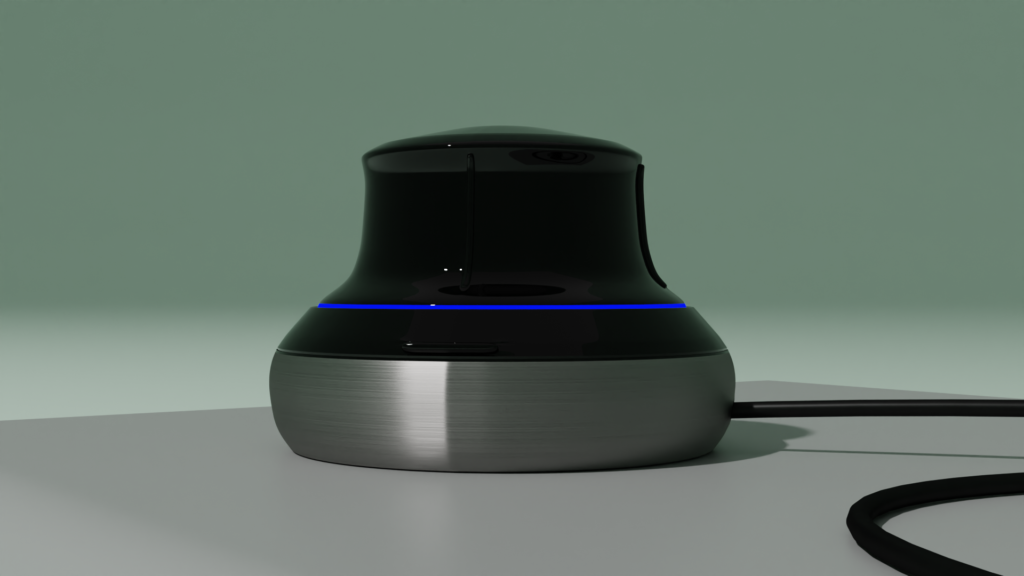
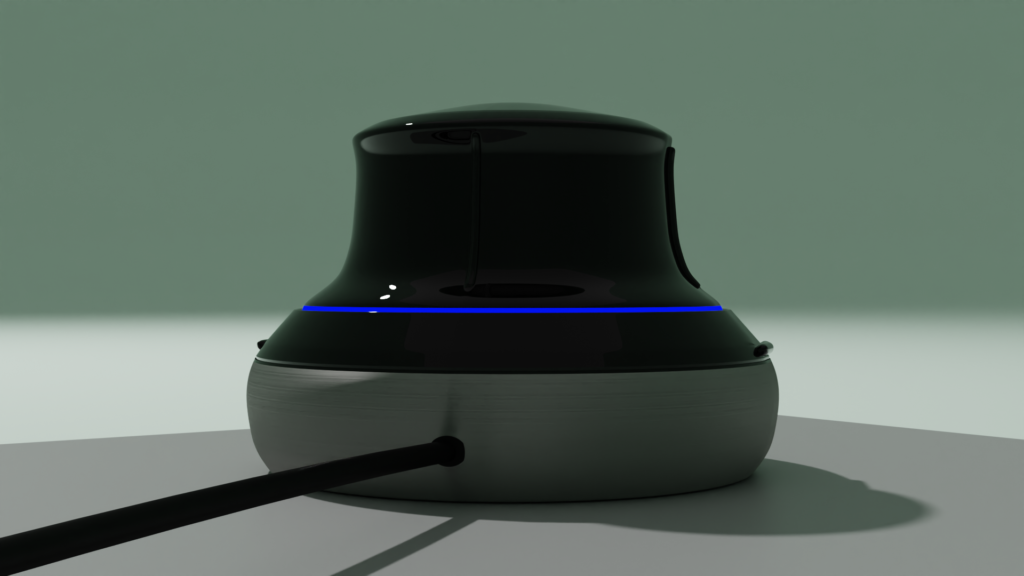
If you want to have a more product like render, where you need some shots from the front, top, left and right, you use the ‘object cameras’ panel functions.
Choose your scene if you have more than 1 scene.
You select your object and press ‘add view cameras’.
Four cameras are being added facing the object.
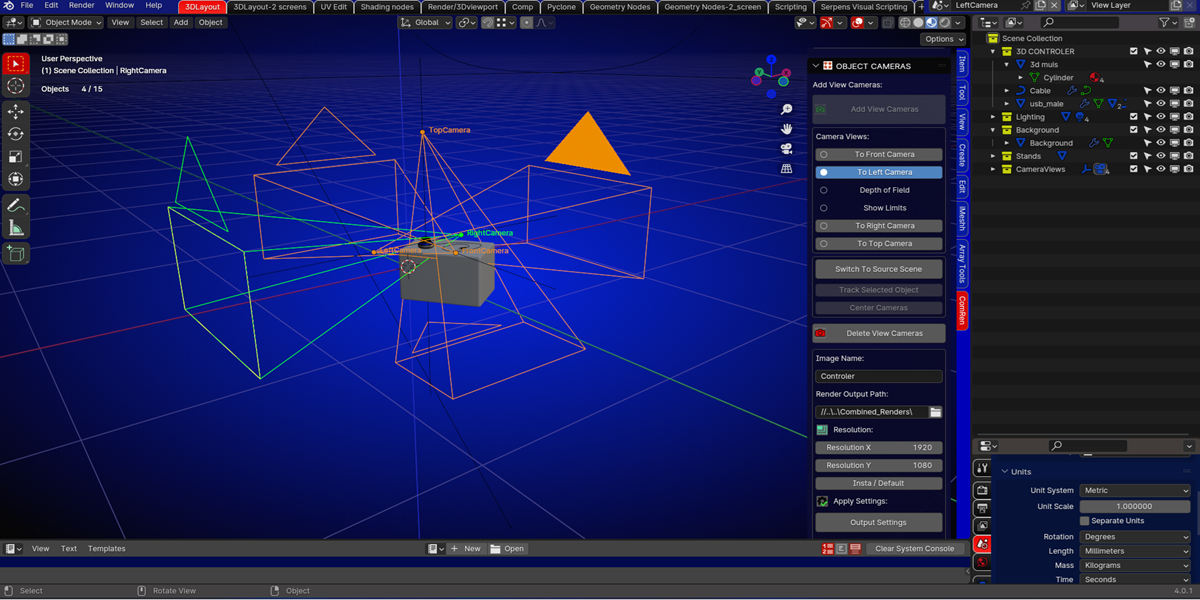
Selecting the camera positions in the panel, will switch between the 4 views.
The camera will always be facing the object if moved.
Moving the empty or object has the same result.
The camera settings can be changed for each view.
Tracking another object:
Select the other object, press the ‘track selected object’ button first and the ‘center cameras’ button last.
Now this object will have the cameras following its position.
You add a name for your image, select your render output path, and select your resolution.
The default is the 1920 by 1080 but can be changed to your need.
Pressing the insta-default button will switch to Instagram resolution, or back to the default.
Pressing render will render 5 images, one image for each viewand 1 combined image of all 4 views.
By default the selected folder will open once the rendering is done.
Changelog V1:
– Initial release for Blender 3.0 until Blender 4.2
Supercharge your 3D creation workflow with premium selection of Blender Add-ons. Whether you are modeling intricate characters, sculpting realistic environments, or animating cinematic sequences, the right add-on can transform how you work inside Blender. Our curated collection includes powerful tools for UV unwrapping, procedural texture generation, rigging automation, rendering optimization, and more—each rigorously tested for compatibility with the latest Blender versions. Eliminate tedious manual processes and unlock advanced functionality that lets you focus on what matters most: bringing your creative vision to life. Explore our full range of professional Blender plugins today and take your 3D projects to the next level.
➡️ ➡️ For more Blender Plugins 😀 😀
Reviews
There are no reviews yet.