
DivineCut Addon for Blender
divinecut addon
DivineCut Addon v3.4.3 for Blender – Advanced Mesh Cutting & Slicing Toolkit
Versions: v3.4.3
File Size: 6.9 MB
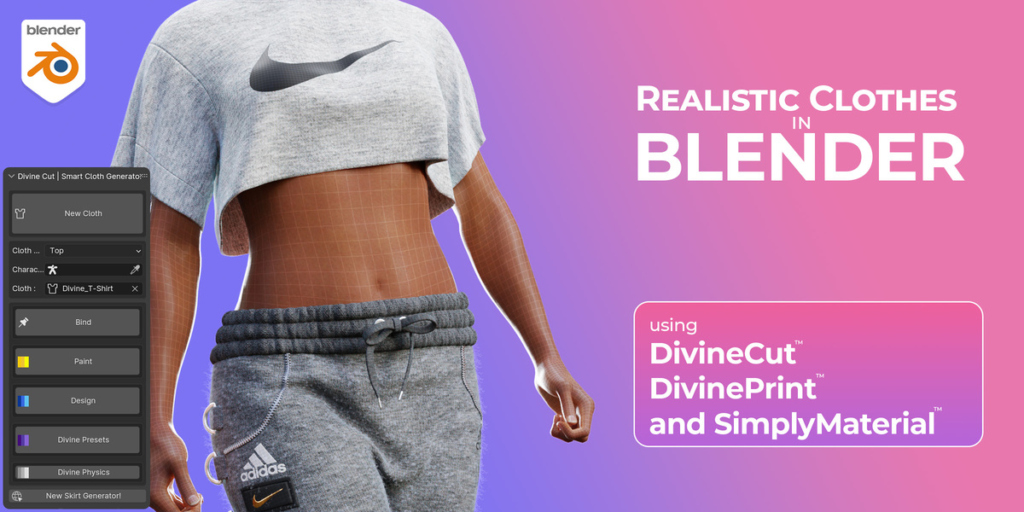
Download DivineCut Addon v3.4.3 for Blender on Windows, Mac, and Linux, a powerful mesh cutting add-on that provides precise slicing, cutting, and sectioning tools for 3D models. Perfect for hard-surface modelers, product designers, and architectural visualization artists who need clean, precise cuts on complex geometry.
Key Features of DivineCut v3.4.3:
- Plane Cutting: Slice meshes along any plane with adjustable position and rotation
- Curve Cutting: Cut along custom bezier curves for organic sectioning
- Boolean Cutting: Perform clean boolean cuts with automatic edge cleanup
- Section Generation: Create cross-section caps for architectural and mechanical cuts
- Edge Cleanup: Automatically fix topology issues after cutting
- Multi-Object Cutting: Cut through multiple objects simultaneously
- Cut Preview: Real-time preview of cut results before applying
- Non-Destructive: Optional non-destructive cutting workflow with modifiers
- v3.0.0 Updates: Completely rewritten cutting engine, new curve cutting, and Blender 4.0+ compatibility
Perfect For:
- Hard-surface modelers creating mechanical cutaways
- Product designers sectioning models for prototyping
- Architectural visualization artists creating cross-sections
- VFX professionals preparing models for destruction effects
- Anyone needing precise mesh cutting in Blender
System Requirements:
- Blender 3.6, 4.0, 4.1, 4.2, 4.3
- Windows 10/11 (64-bit), macOS, or Linux
- 4GB RAM minimum (8GB+ recommended)
- 25MB available disk space
Installation:
- Download the add-on zip file
- In Blender, go to Edit > Preferences > Add-ons
- Click “Install” and select the downloaded zip file
- Enable the add-on by checking the box next to “DivineCut”
Note: DivineCut Addon v3.0.0 provides professional mesh cutting tools for Blender, enabling precise plane and curve-based slicing with automatic edge cleanup. The section generation and non-destructive options make it essential for hard-surface modelers, product designers, and architectural visualization artists. Designed for Blender 3.6 and above. Finish. End. Good


New : DivineCut v3.4
New : DivineCut Basics Playlist on Youtube
[Jumpsuit Operator, Kimono Operator, New Packs, Playlist on Youtube, Much better Shirt & T-Shirt algorithms, and much more]

New : DivineCut v3.2
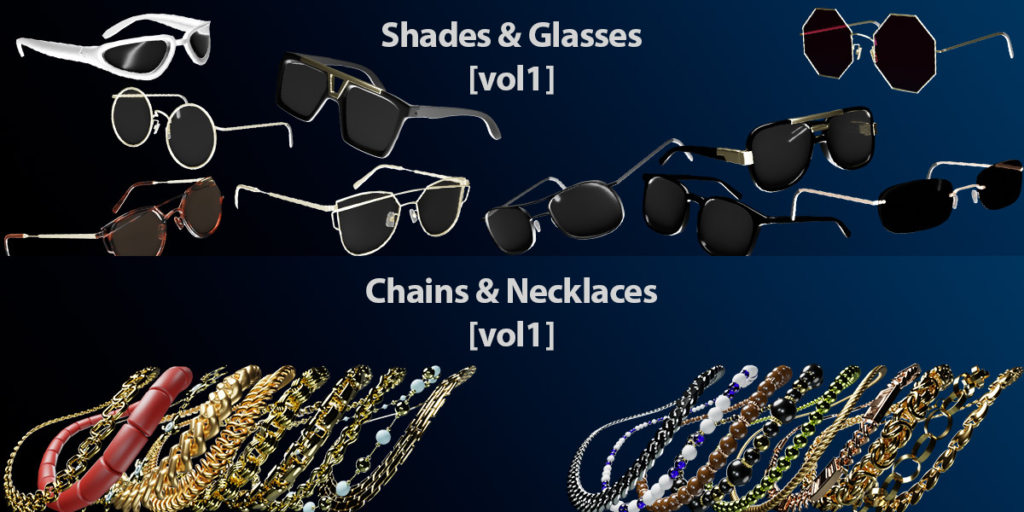
[Fur, Chains&Necklaces, DivinePrint Improvement, Cloth to Keys]
New : DivineCut v3.0
New : Elastify & Frills
New : DivinePrint (See Documentation for Limitations)
See Documentation Section for Tutorial and Limitations of DivinePrint
DivineCut v2.5 is Here! Check out the video below
DivineCut v2.0 is Here! Check out the video below
If you bought v1 use the coupon code ‘divineupgrade’ at checkout to get v2. You do not have to re-buy v2
Useful Links:
Youtube Tutorials : See different ways of using DivineCut. The latest uploads contain the latest updates and features.
Discord Community : You are not alone. Join the community of Divine Creators, feel free to ask questions, share your work and more
Divine Features
Cloth Generation
Use the DivineCircles to customise the shape of your cloth. Make each section as long or short as you want.
Divine Presets
Right after the cloth is Generated, you can select a preset and it will turn it into a finished cloth, ready for simulation. Current presets include a [Puffer Jacket, Varisty Jacket, and Shirt]
You have options to generate with collar, hoodie, materials, open/closed
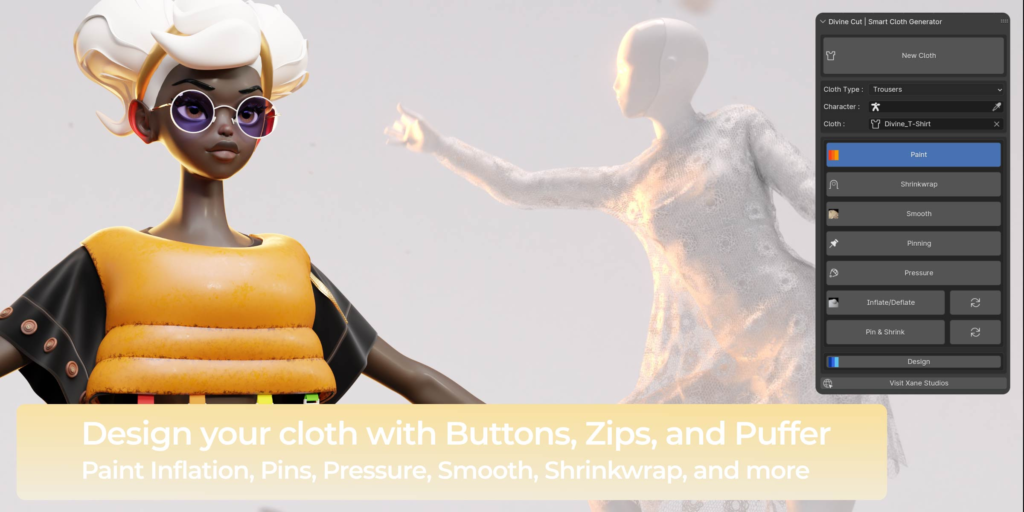
Paint Controls
Painting tools let you shrinkwrap parts of the cloth onto your character. Smooth certain areas. Pin areas to your character. You can also paint which area’s you would like to add pressure, inflate, or deflate.
Divine Hoodies
DivineCut lets you add a hoodie onto your cloth with a single click
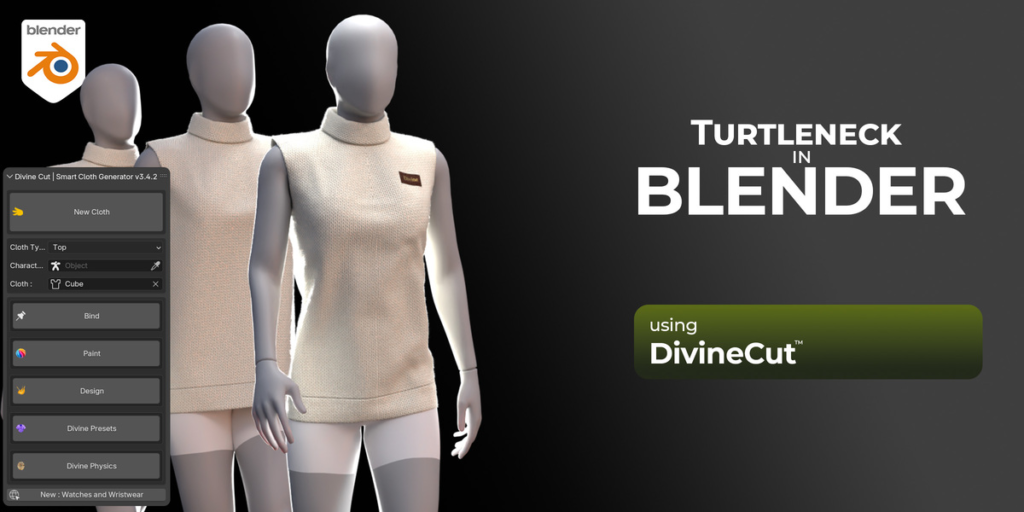
Divine Collars
Collars in Blender can be tricky due to their stiffness. With DivineCut you can now add a Collar onto your generated top with a single click
Puffer

New Puffer Method : Select the vertices you don’t want to puffer and click Puff
Old Puffer Method (still functioning) : Select faces you want to puffer and click Puff
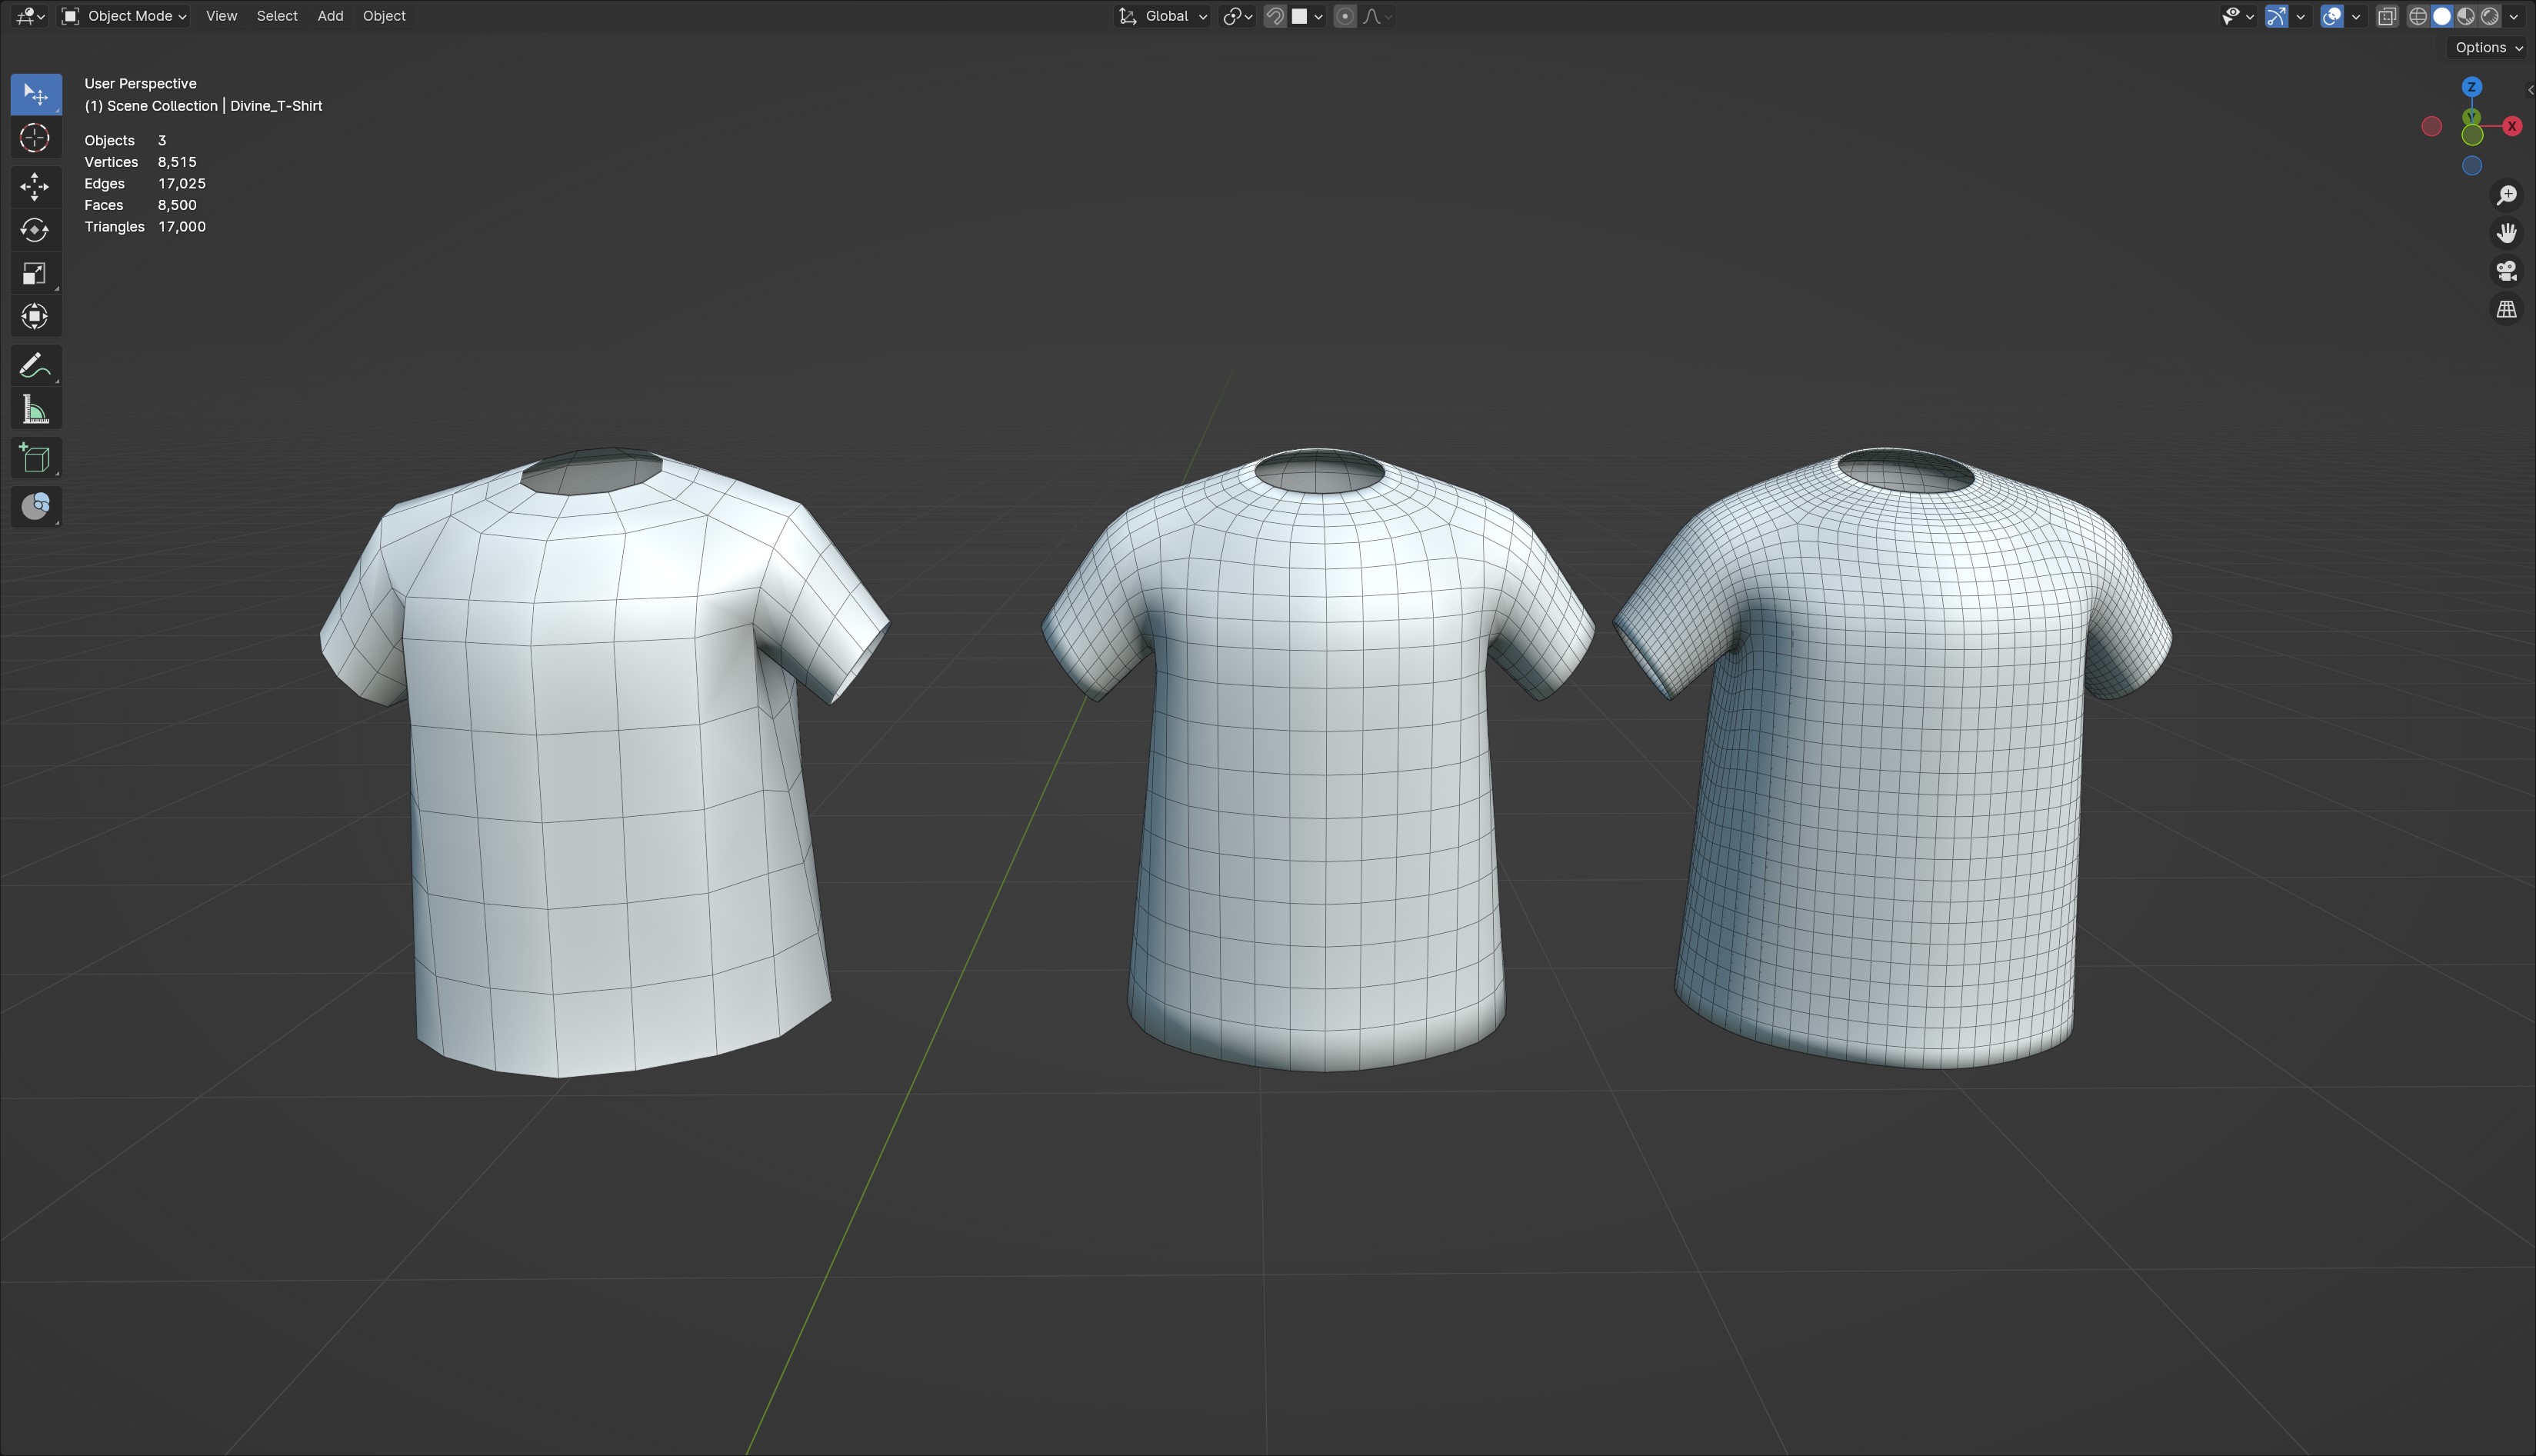
Simple Topology
Generated clothes are born with the neatest and least topology possible. Use the subdivision modifiers to control how much topology you want before and after the cloth modifier.
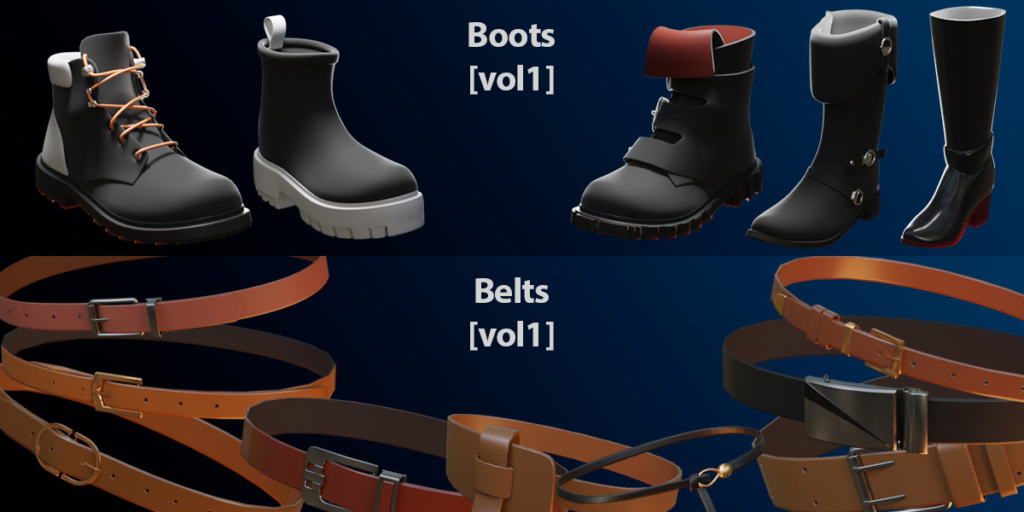
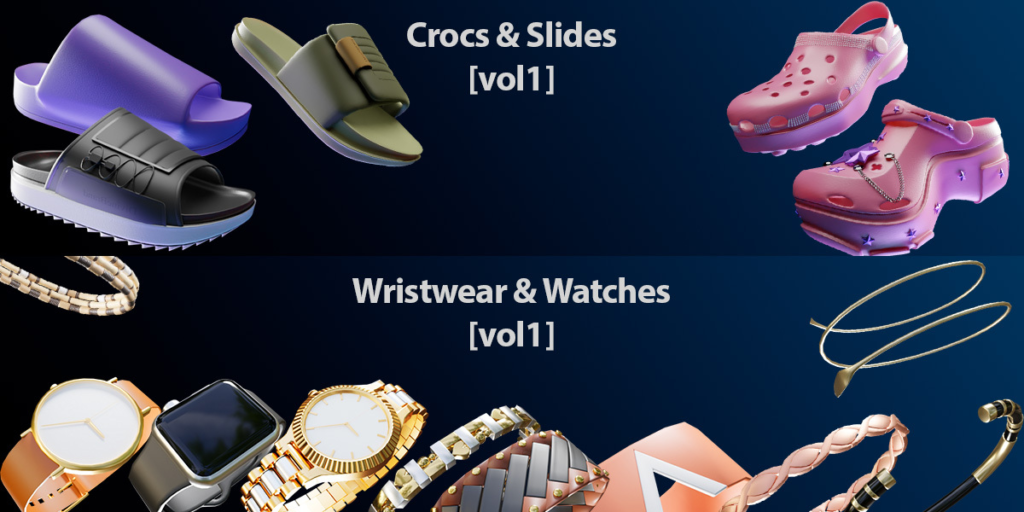
Divine Accessories
Divine accessories are not just assets. They are each special objects with different behaviours you can attach onto your cloth. When you pull a divine asset from the asset library, you will see a new button under the Design tab. Click it to register the Divine Object. Some technical stuff happen in the back end, but all you have to do is bind the object to the cloth and it will behave properly.
[Note : The lace currently has issues colliding with clothes which is a bummer, so for now we can label it experimental until i get that fixed. It works fine dangling off clothes though]
A Swiss Knife ~ powerful, yet simple
Features
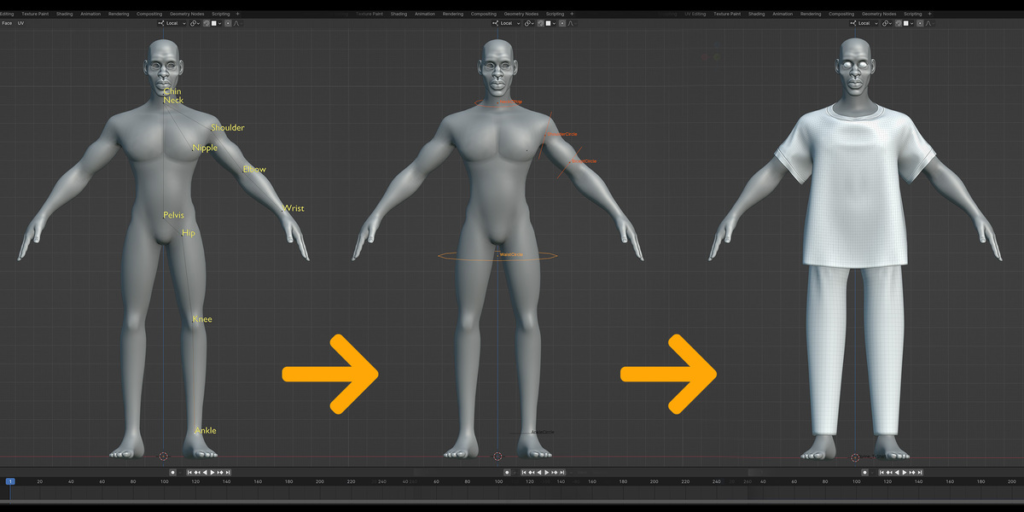
1) Cloth Generation
Map the body parts of your character as shown in the video above. After which you can customise the style of the garment : the neck size, sleeve length, and drop length (from a crop-top, to a gown)
For Trousers, you can set the width of the thighs and the ankles.
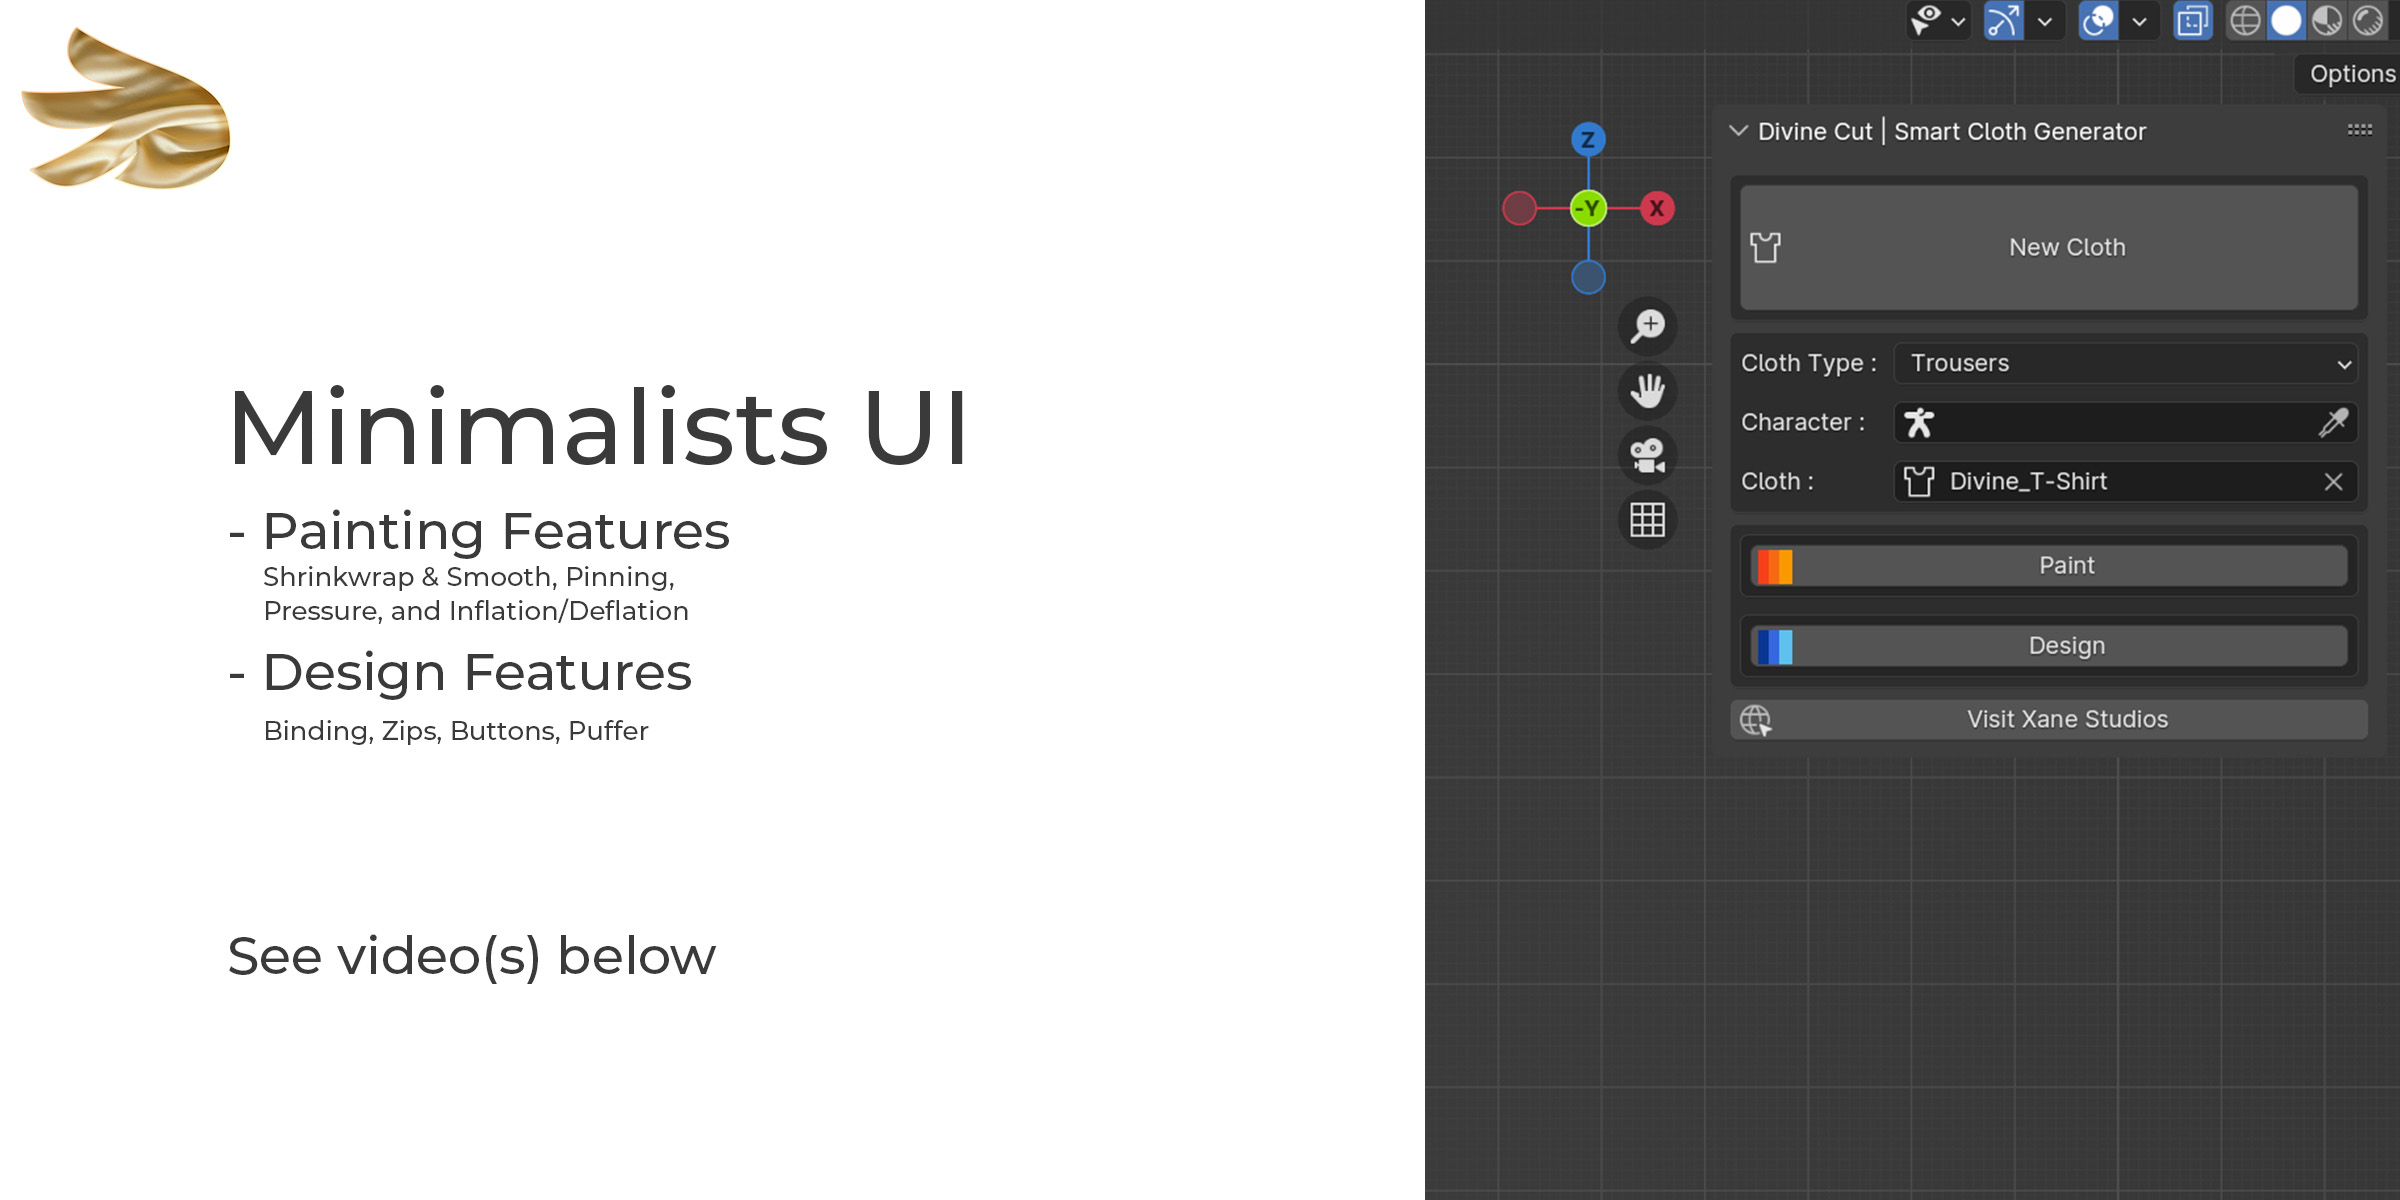
2) Painting Features
DivineCut comes with painting tools which allow you style the shape and behaviour of the cloth.
a. Shrinkwrap : Paint which parts of the cloth should shrinkwrap onto your character
b. Pinning : Paint which parts should bind to your character. They will be pinned onto the character and will not be simulated. This is great for the cuffs of the sleeve, the waist, or any other part which you want pinned onto your character during simulation
c. Bloat : Paint which parts of the cloth you want to expand or shrink.
d. Smooth : After shrinkwrapping for instance, some parts of the mesh may not be so smooth (such as the collar and armpit region). Paint wherever you would like to smoothen.
e. Pressure : Paint pressure onto your cloth. Great for areas you will like to retain structure and not fall to gravity
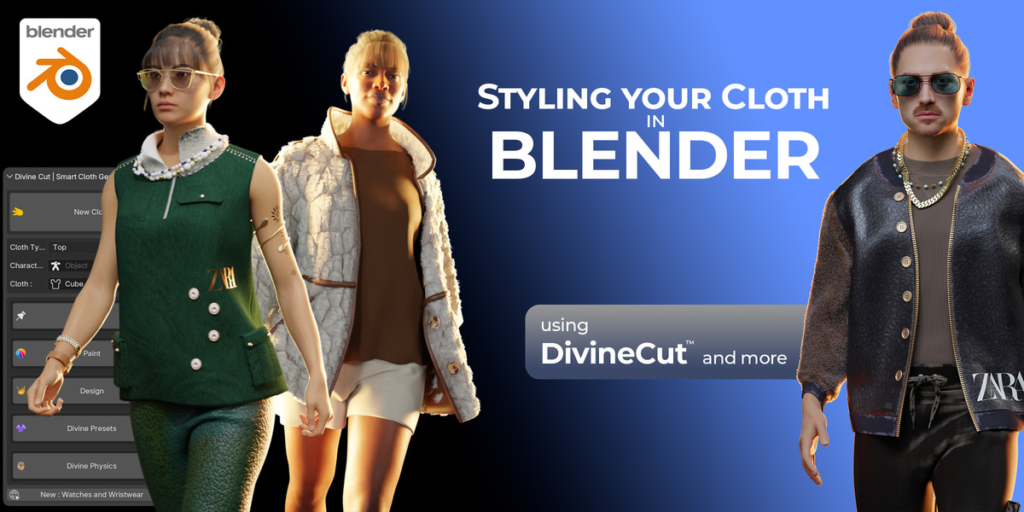
3) Design Features
DivineCut is launching with a few design features to help stylise your cloth even further
a. Bind : Clicking Bind on your cloth will bind the cloth to your character using the ‘Pinning’ group. So you can add vertices to this group or paint wherever you would like to bind.
b. Bind : Clicking Bind on any other object will bind it to your cloth automatically. This is great for Buttons, Zips, Lapels, Pockets, Thread, and any other mesh you would like to stick on
c. Zips (Improved significantly in v1.0.4 but still classed Experimental) : This will create a zip on the selected edges of your mesh
d. Puff : This will create a puffer on the selected faces of your cloth. This is great for making puffer jackets.
e. Add Collar (NEW) : This will add a special collar to your generated top.
f. Add Hoodie (NEW) : This will add a hoodie to your generated top.
4) Demo File
You can use the demo file to test out your animation. This comes with a character rig (from Lollipop Characters) and a collection of buttons and zipper objects. You can append this collection into your file or add the asset library package which will be available in version 1.0.1.
Known Issues
– The zipper function has been improved in v1.0.2 but still requires further improvement. If you have a mirrored object you need to set the scale of the zip to -1 on the x axis if you’d like to flip it to the other side
– Default Puffer pressure may sometimes be too much for a single puffer object so it may appear to explode when simulated. Simply reduce the puffer pressure in cloth settings
– The sleeve sometimes generates as inverted. Simply undo and rotate the shoulder ring to tilt towards the bicept ring a bit more
– More tutorials are currently in the works
[ Latest Updates ]
– Toggle Seams : You can now turn the major visual seams on and off with a single click (found in Design Tab)
– UV Unwrapping : Shirts now come automatically UV unwrapped upon generation. For best results, apply the mirror modifier when you are done completely and then unwrap again by selecting all vertices/faces and pressing U>Unwrap. For now the mirror modifier doesn’t allow for perfect unwrapping.
– Weights : You can now add multiple vertices to a group with the new pin buttons in the painting tab (in front of the shrinkwrap, pinning, and smooth buttons)
– UI : The Bind button is used very often, so I’ve brought it out of the Design tab and made it stand alone, making it easier to reach
– Faster Binding : To Bind/Rebind all Divine objects in the scene, Select nothing and then press Bind. It will Bind all objects to the right surfaces.
– Dynamic Modifiers : When you Bind an Object, you can not see any effects when you try to sculpt it afterwards unless you disable the SurfaceDeform modifier. With this update, whenever you enter sculpt mode, it automatically disables the surface deform modifiers so you never have to worry about that. When you’re done sculpting, you can simply press Bind to rebind it. Sometimes this function fails and ignores when you enter sculpt mode (something to do with the functions registration in Blender), I’m still learning what causes that, but it will be fixed.
– Hoodie : You can now add a hoodie to your cloth with a single click, yay
– Puffer Rework : The puffer algorithm has been reworked entirely. See here (You can still use the previous method by selecting faces and then pressing Puff, but I think this new method is much better)
– Divine Assets : I’ve released a few Divine Assets you can use to accessorize your cloth such as buttons, pockets, string and strap, and a couple materials. Much more will be added, this is not the official V1 library, but it is a start. See installation guide here. After adding a DivineAsset, go under the Design tab and press ‘Divine Accessory’. In the back end it will perform all necessary functions on the asset to make it usable and ready to go with your cloth.
– Pin&Shrink Removed : The Pin&Shrink painting option has been removed. It is not effective enough and is taking up space. Rather I will later add a function so you can Pin all shrinkwrapped areas. That way you can see the shrinkwrap effect in realtime and then apply them as pins
– Trousers : The trousers have not been given as much love as the top algorithm. It is not perfect, but I will take time to make it better. For now I am trying to perfect the workflow for most tops such as jackets, shirts, and more as I get your feedback. The zipper algorithm is still experimental and will be fixed or completely reworked asap.
Thank you!
Supercharge your 3D creation workflow with premium selection of Blender Add-ons. Whether you are modeling intricate characters, sculpting realistic environments, or animating cinematic sequences, the right add-on can transform how you work inside Blender. Our curated collection includes powerful tools for UV unwrapping, procedural texture generation, rigging automation, rendering optimization, and more—each rigorously tested for compatibility with the latest Blender versions. Eliminate tedious manual processes and unlock advanced functionality that lets you focus on what matters most: bringing your creative vision to life. Explore our full range of professional Blender plugins today and take your 3D projects to the next level.
➡️ ➡️ For more Blender Plugins 😀 😀
Reviews
There are no reviews yet.